Your Guide to Self Tanning
How to Achieve a Flawless Sunless Glow
New to Sunless Tanning?
At Sontse, we’ve created a simple, step-by-step guide to mastering the art of self-tanning at home. By pairing our best-in-class self-tan products with these tips and tricks on how to achieve that effortlessly natural-looking glow, we’ve made it easy for you to go sunless.
STEP 1
Be prepared
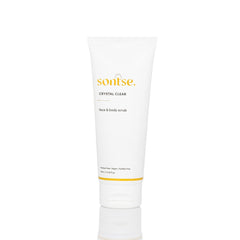
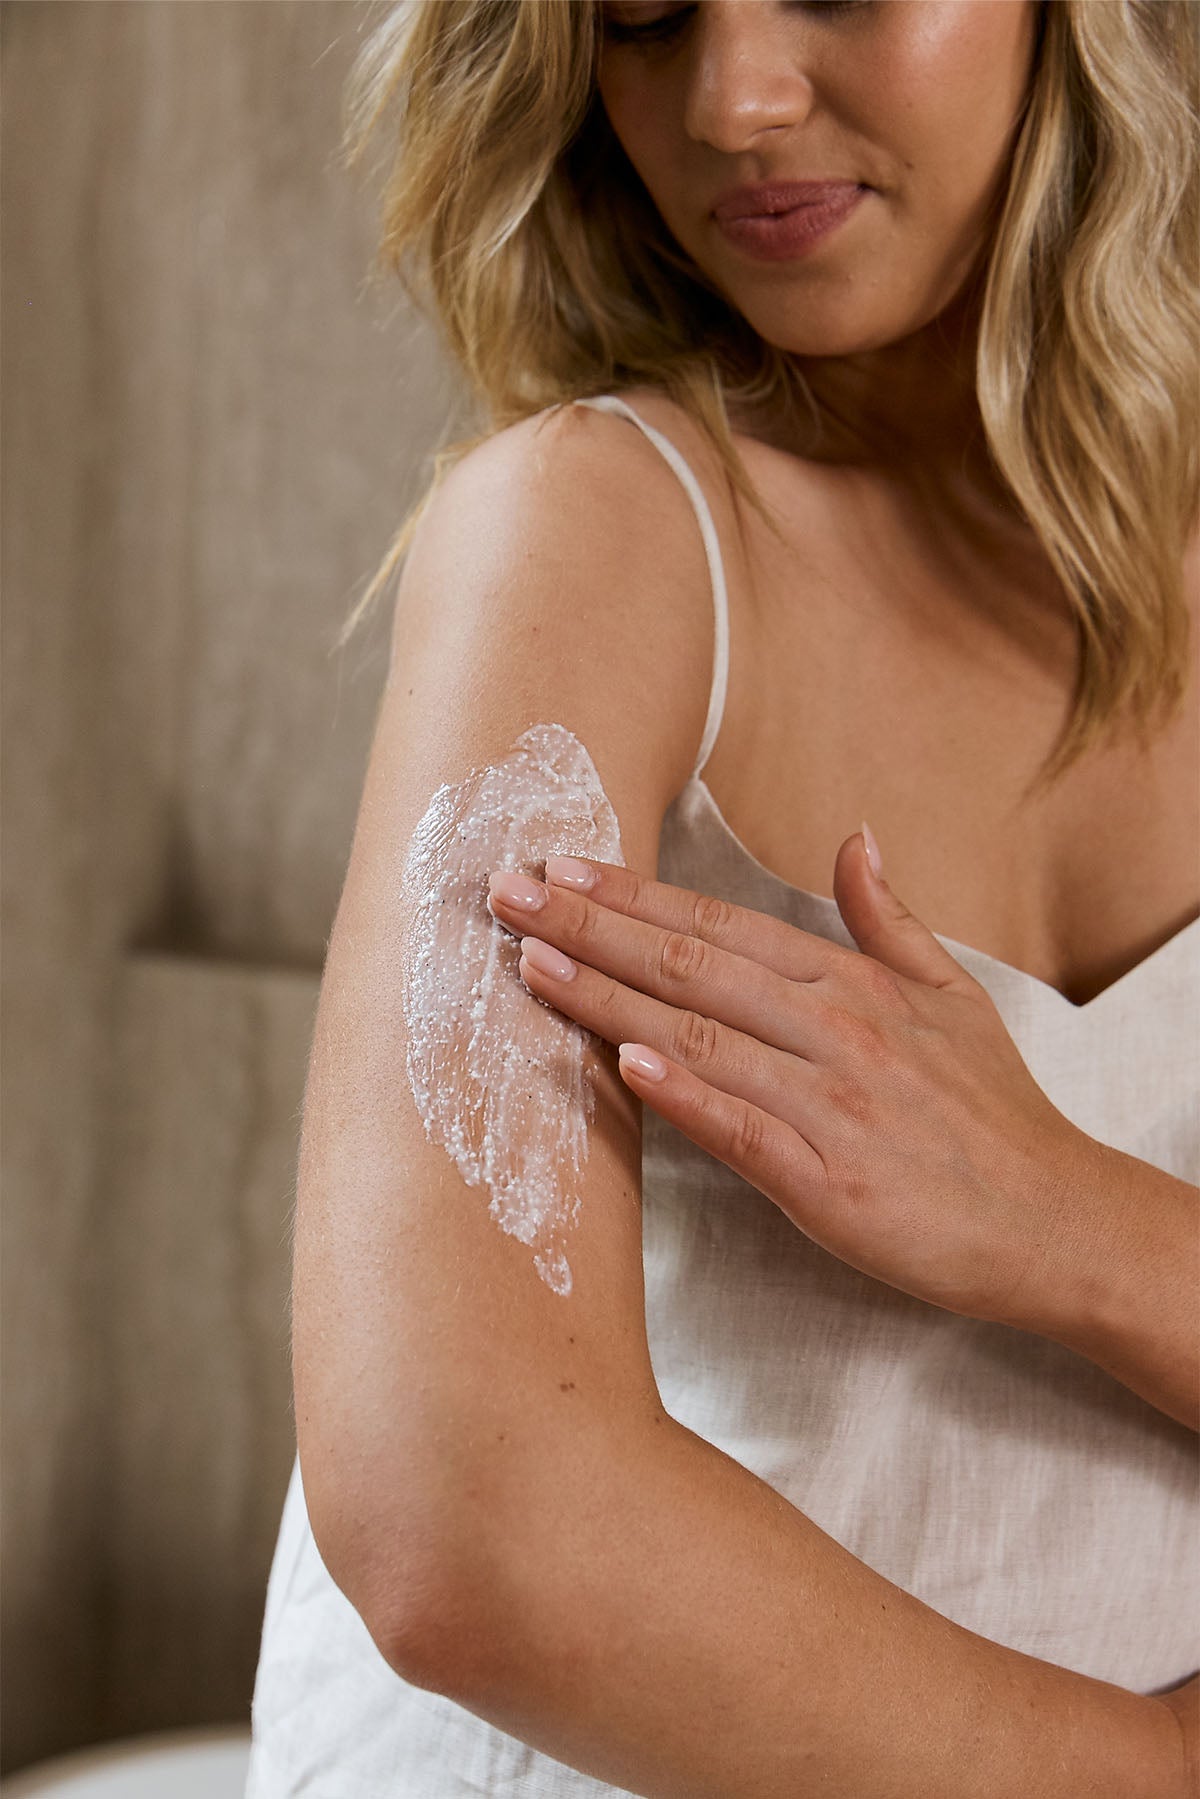
A luminous, long-lasting tan begins with the care you give your skin beforehand. While it’s tempting to skip ahead to the glow, proper preparation is essential. Start by gently exfoliating your skin to sweep away dead cells and any lingering body products that could interfere with a smooth, even tan.
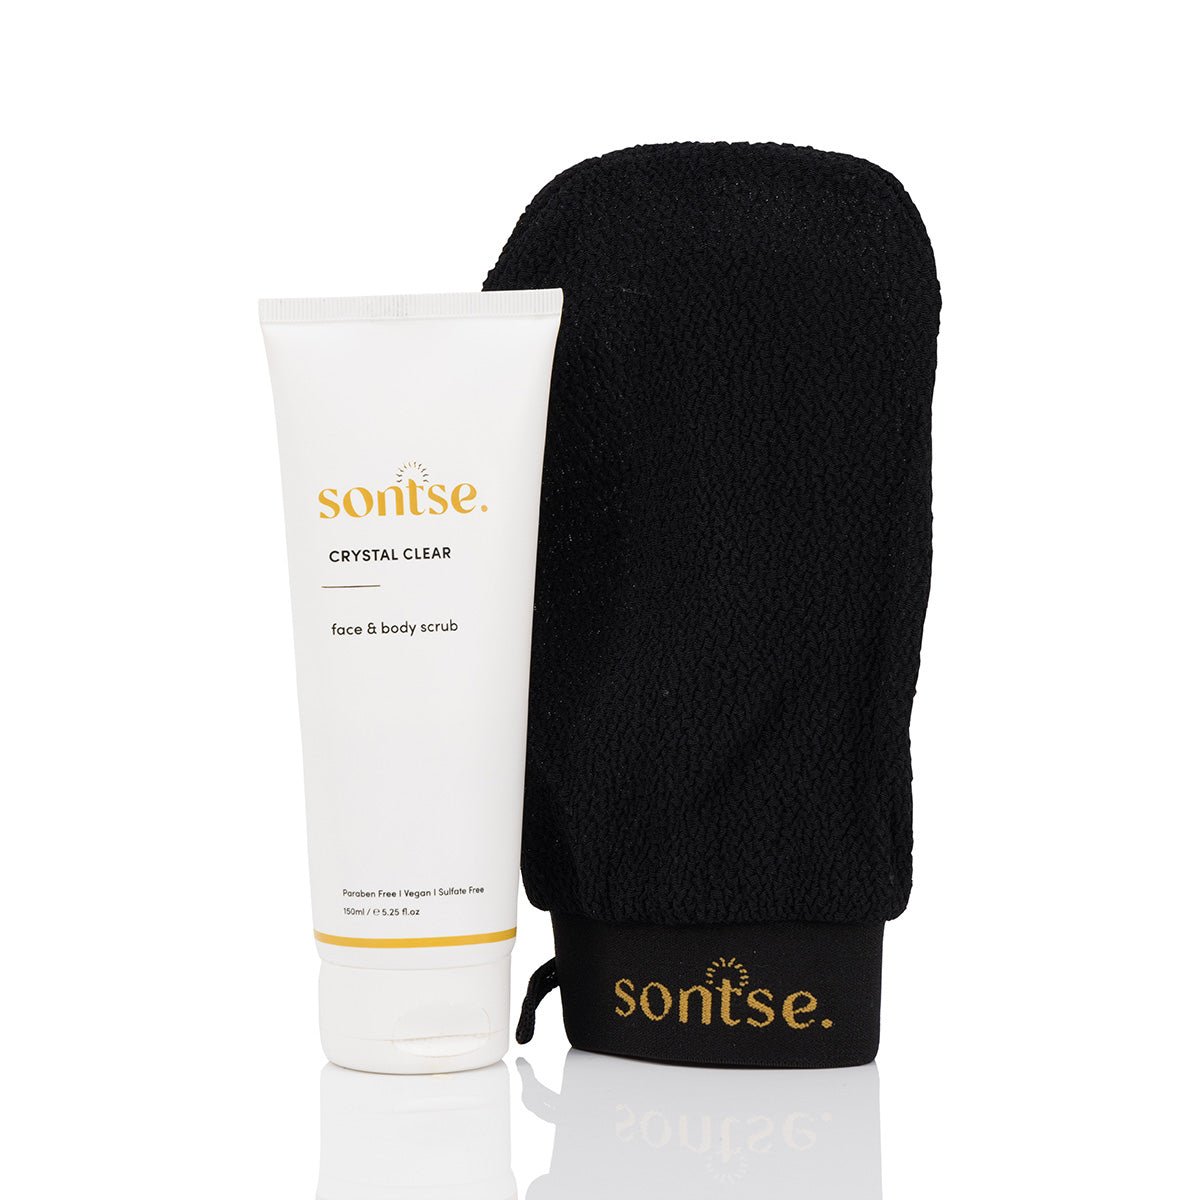
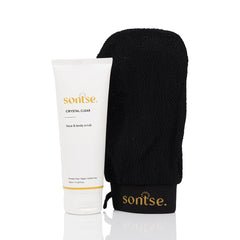
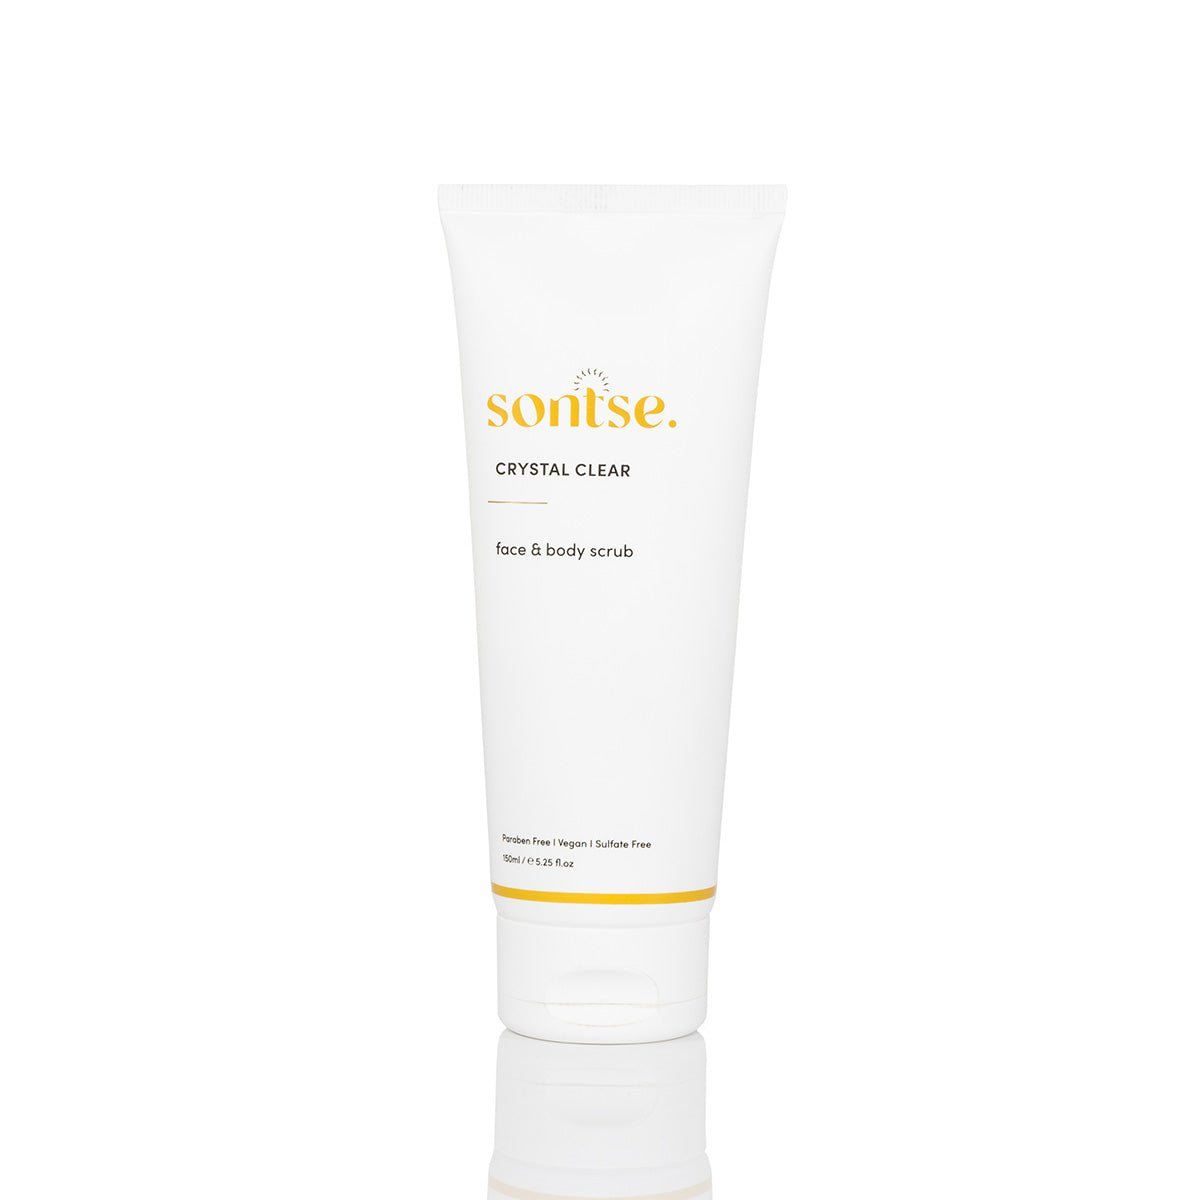
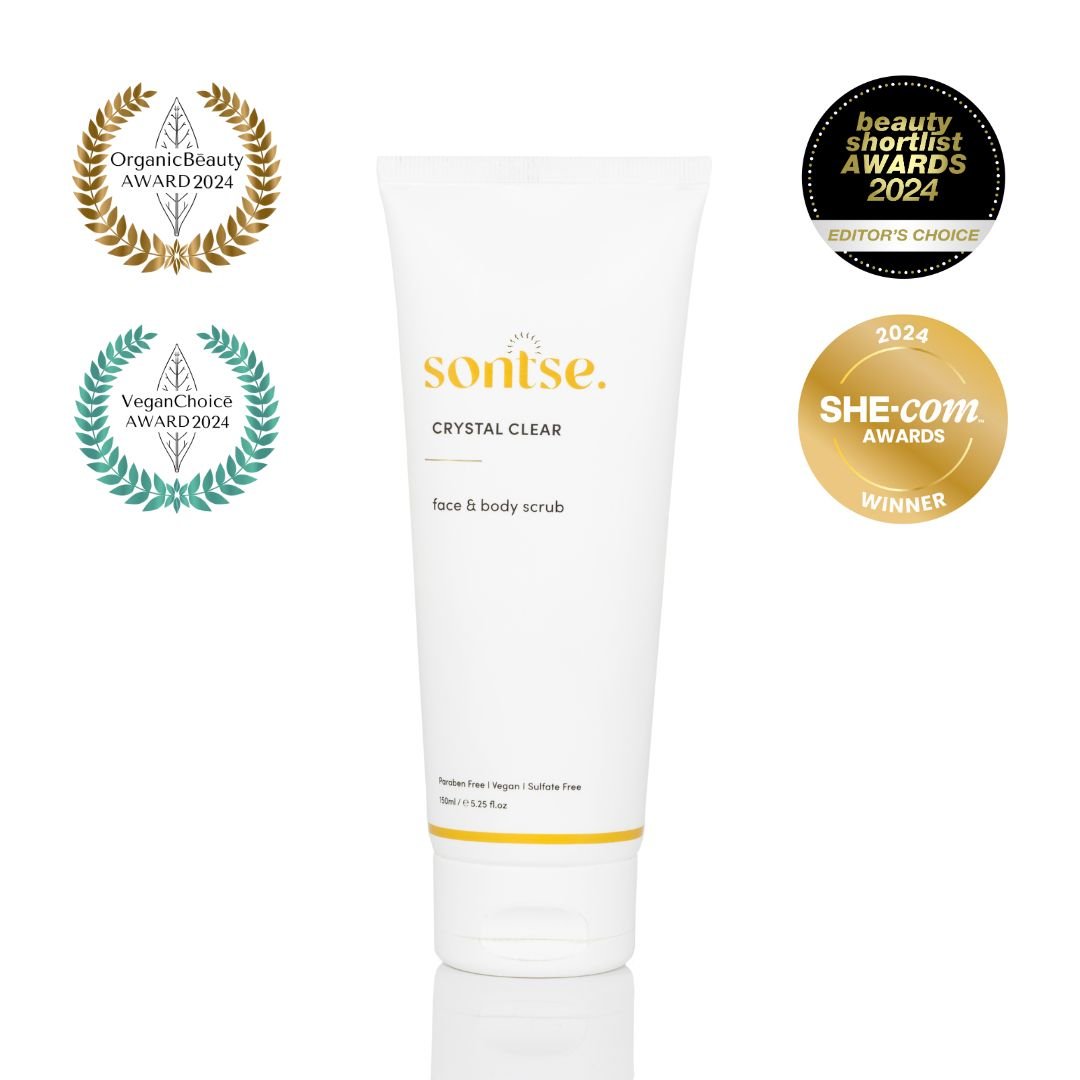
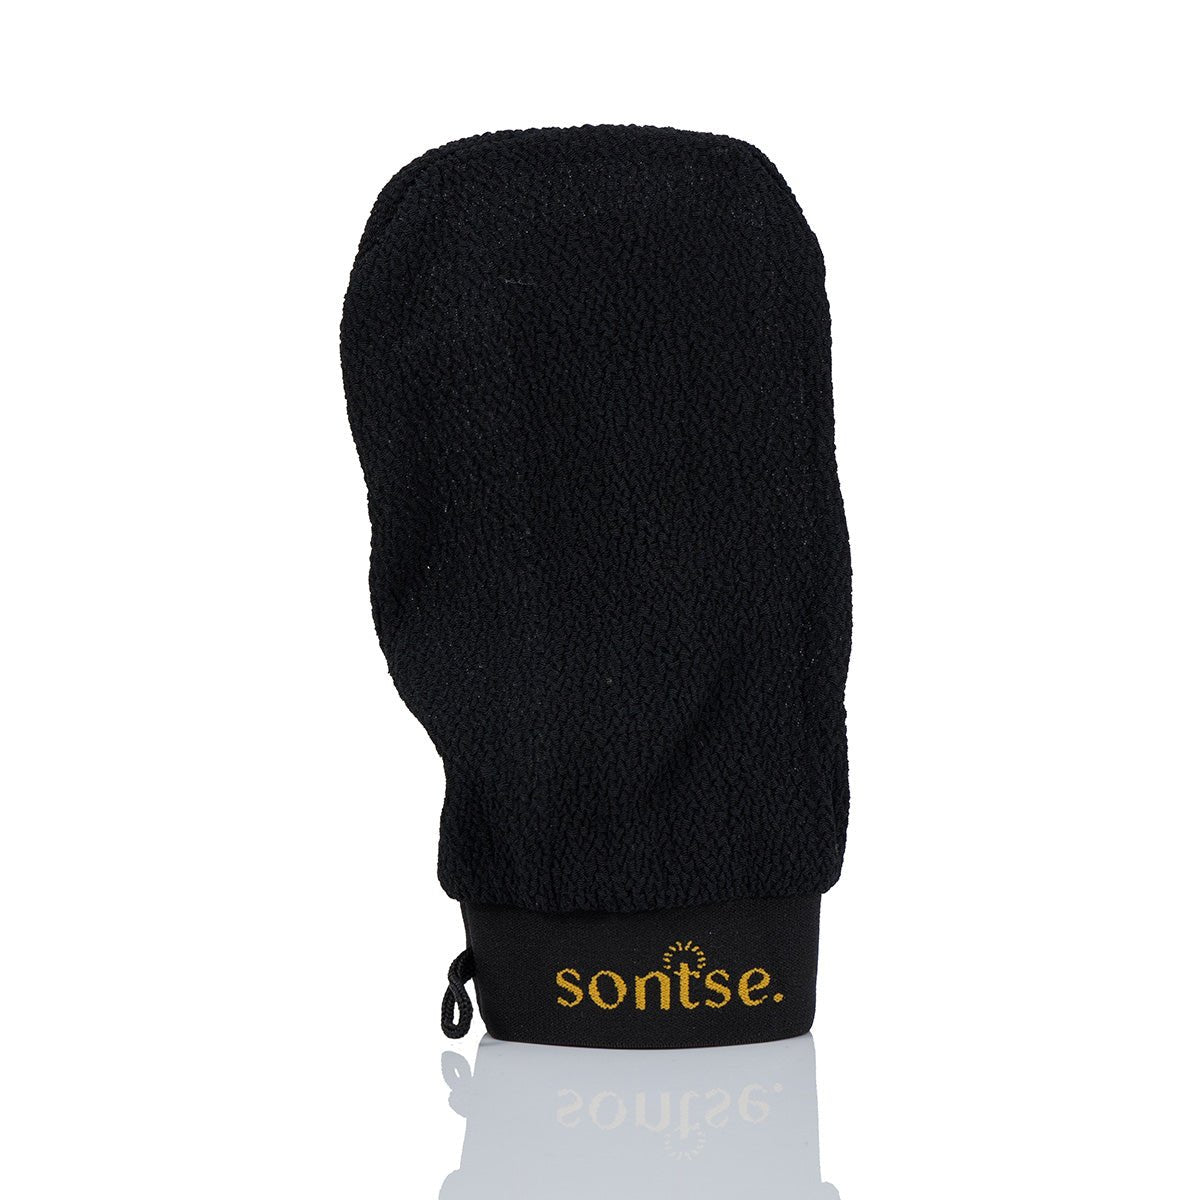
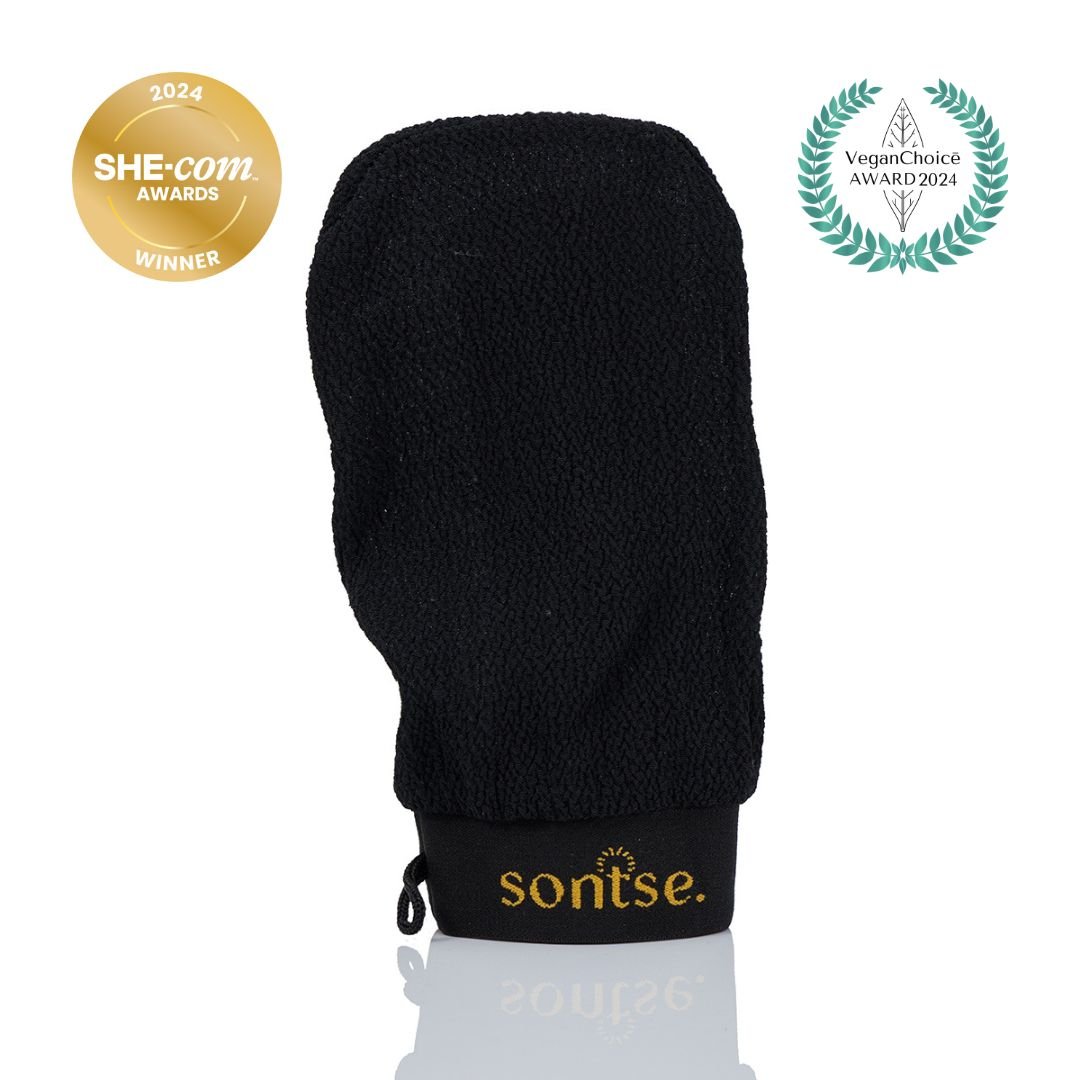
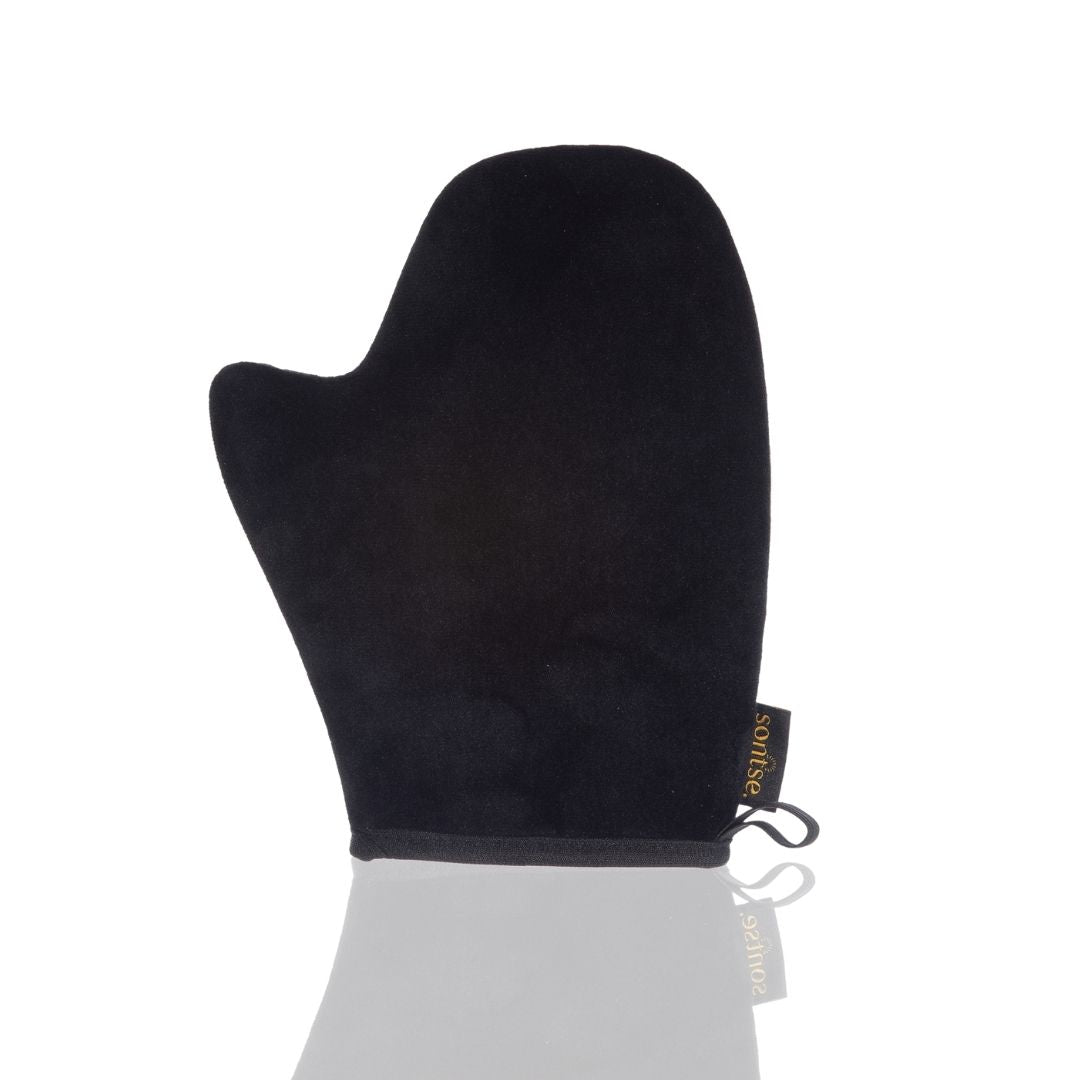
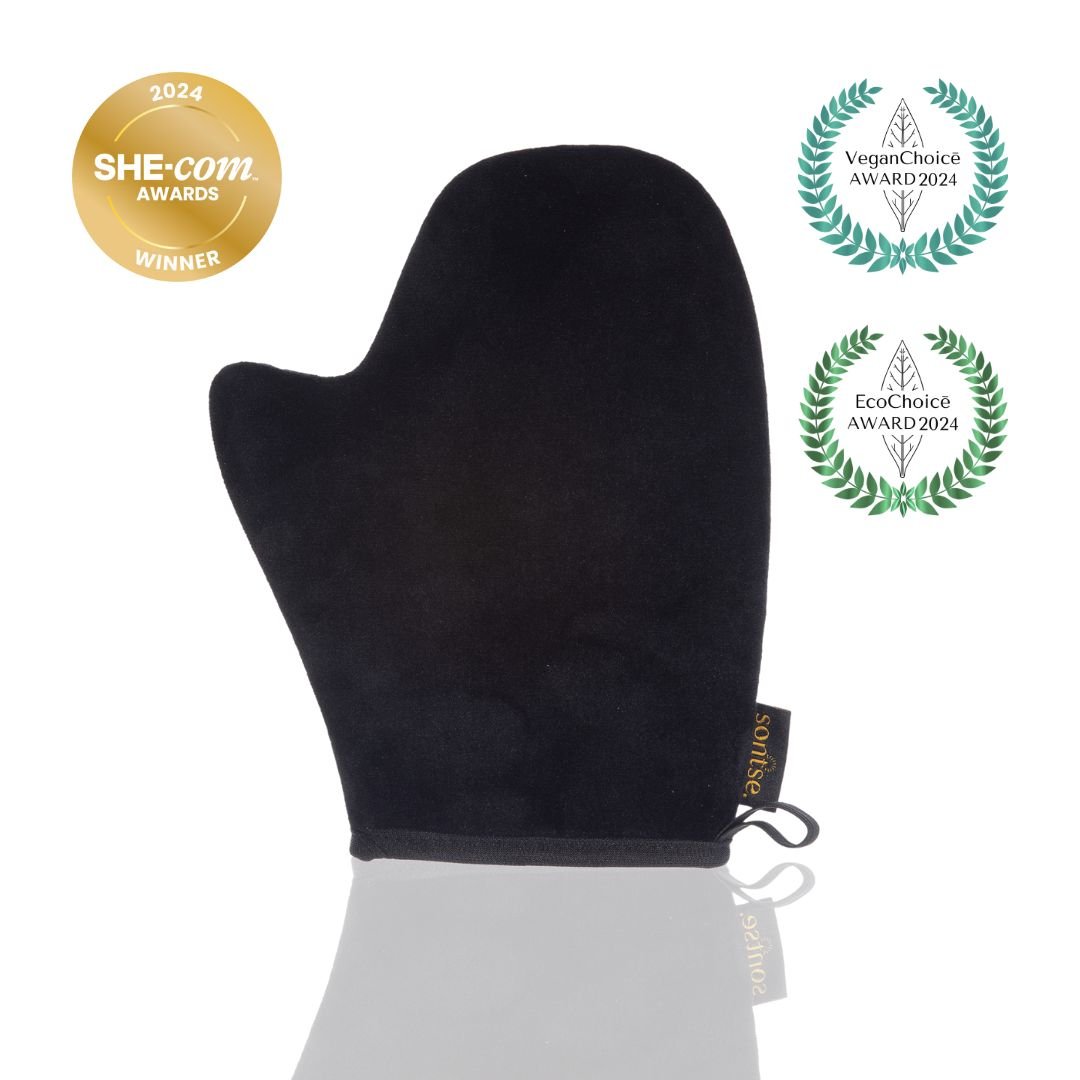
We recommend using a gentle exfoliator for both your face and body. Pair this with an exfoliating mitt—an essential tool in your tanning ritual—to ensure a flawless finish, free of dry patches or clogged pores that can disrupt your radiant result.
We recommend
STEP 2
Cover your bases
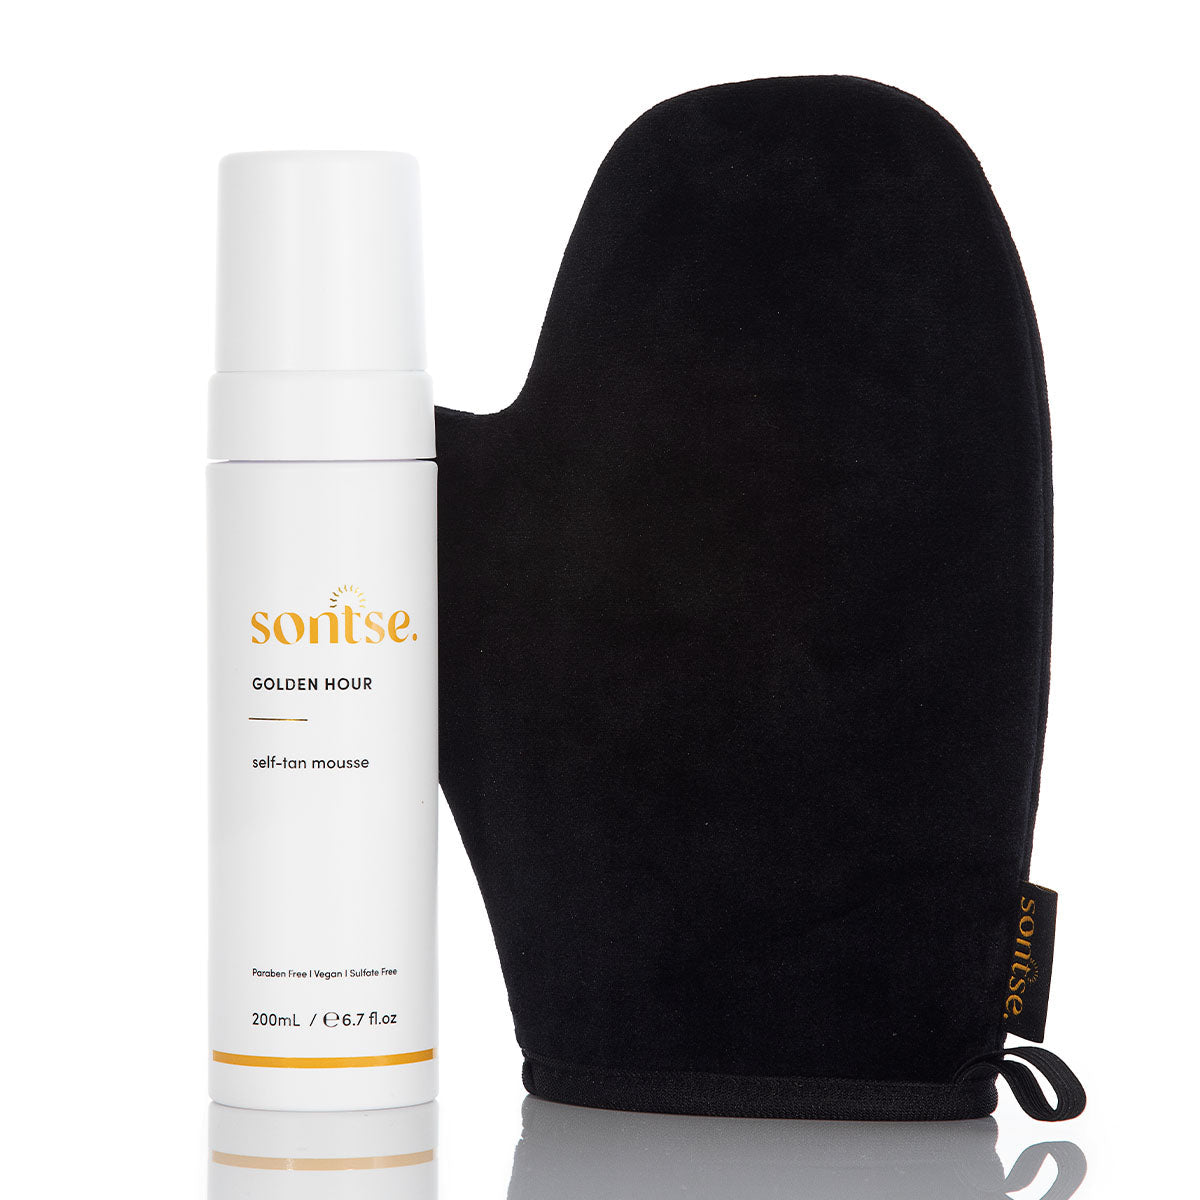
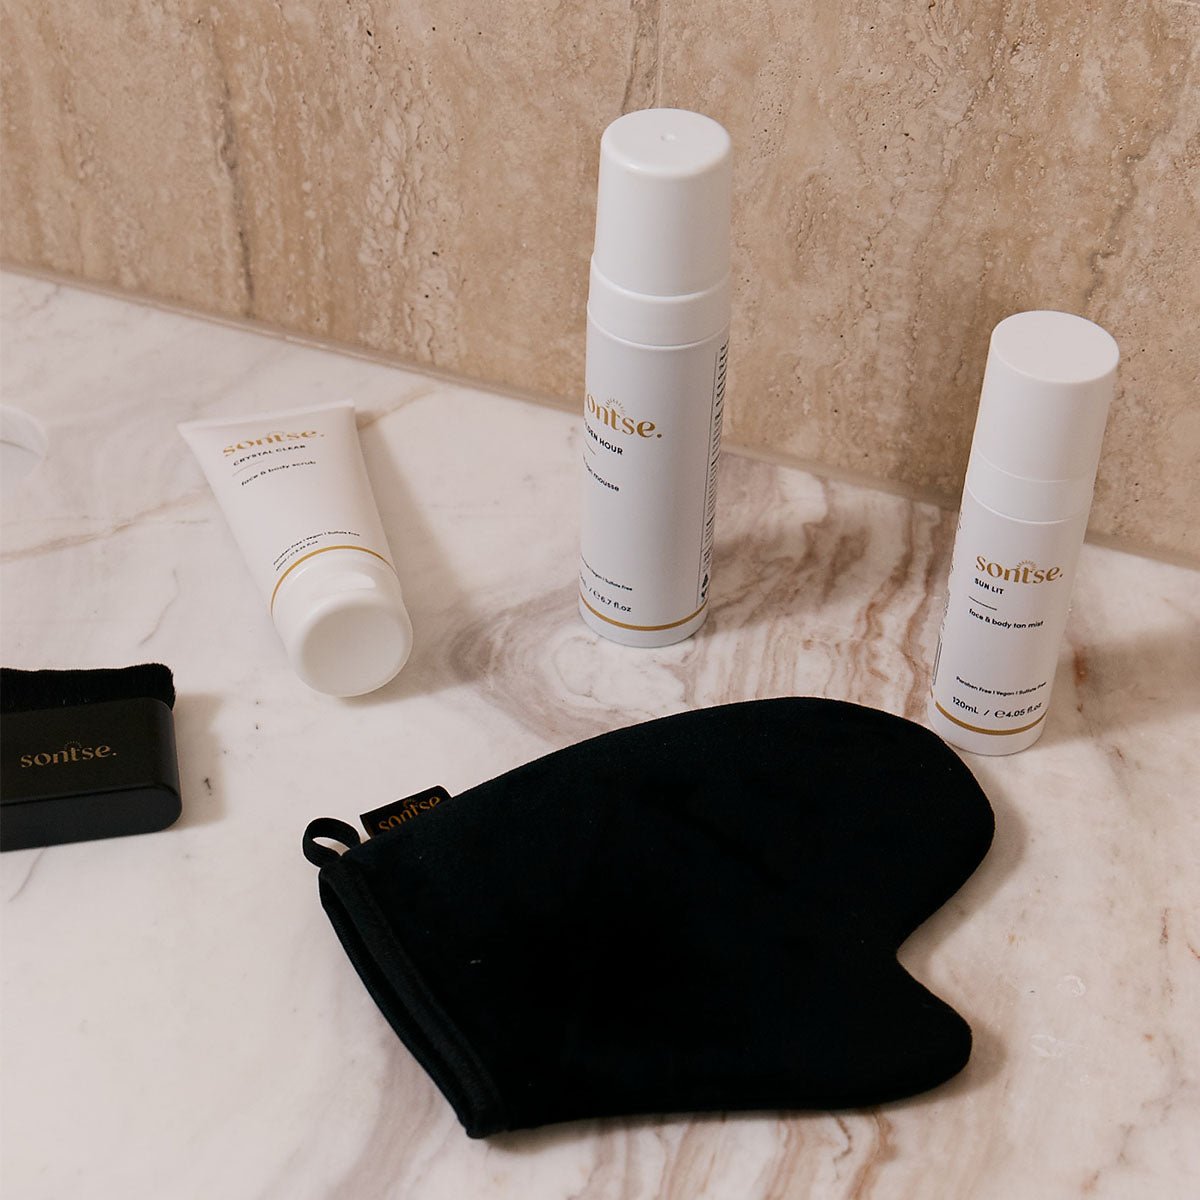
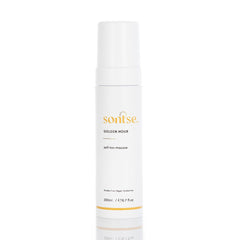
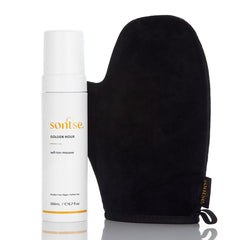
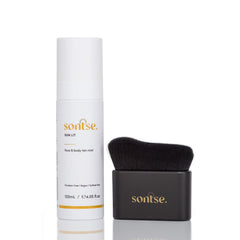
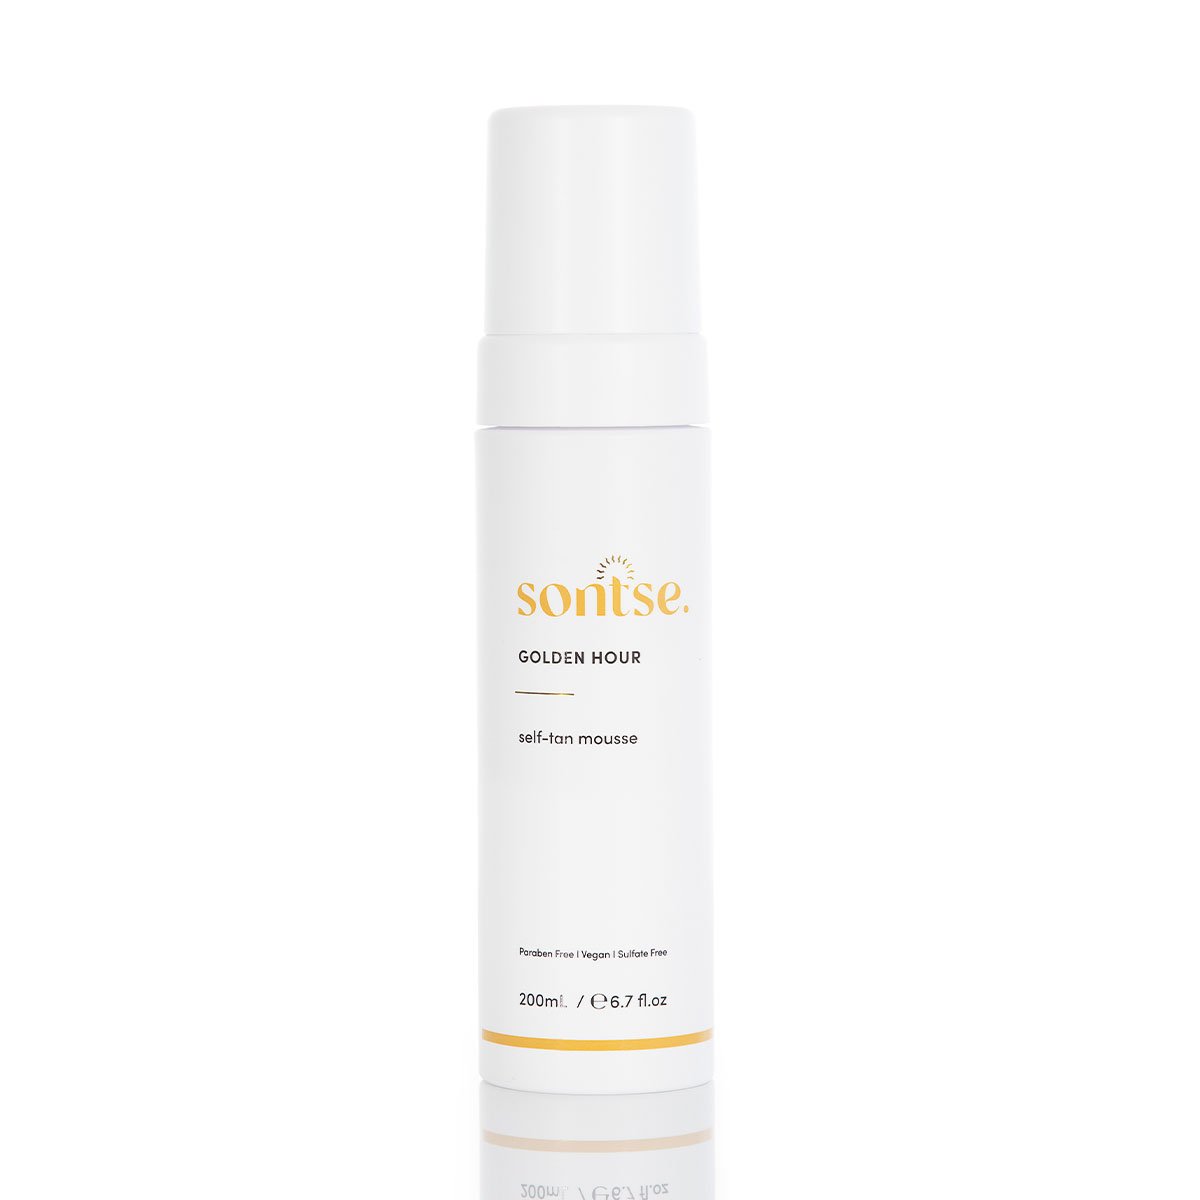
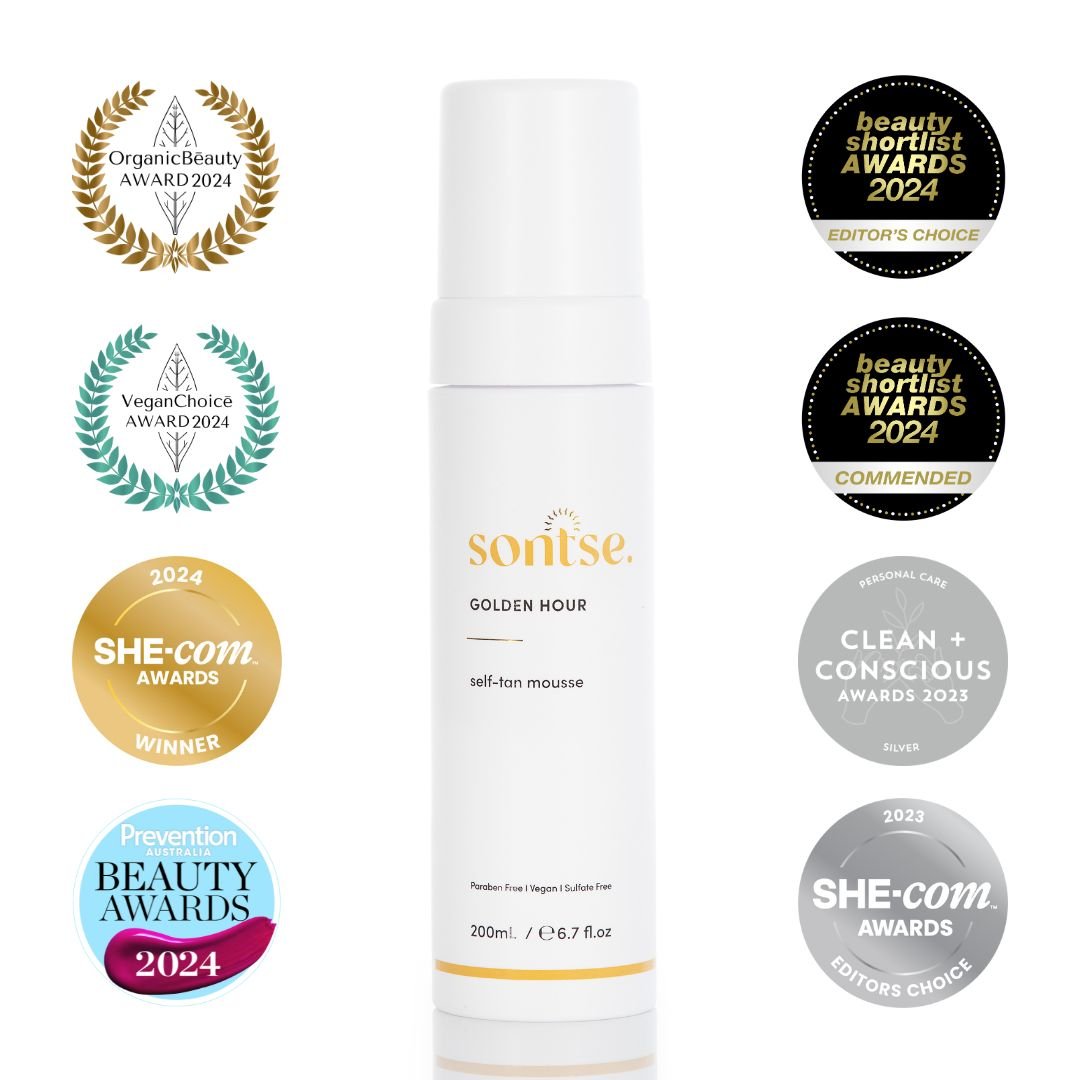
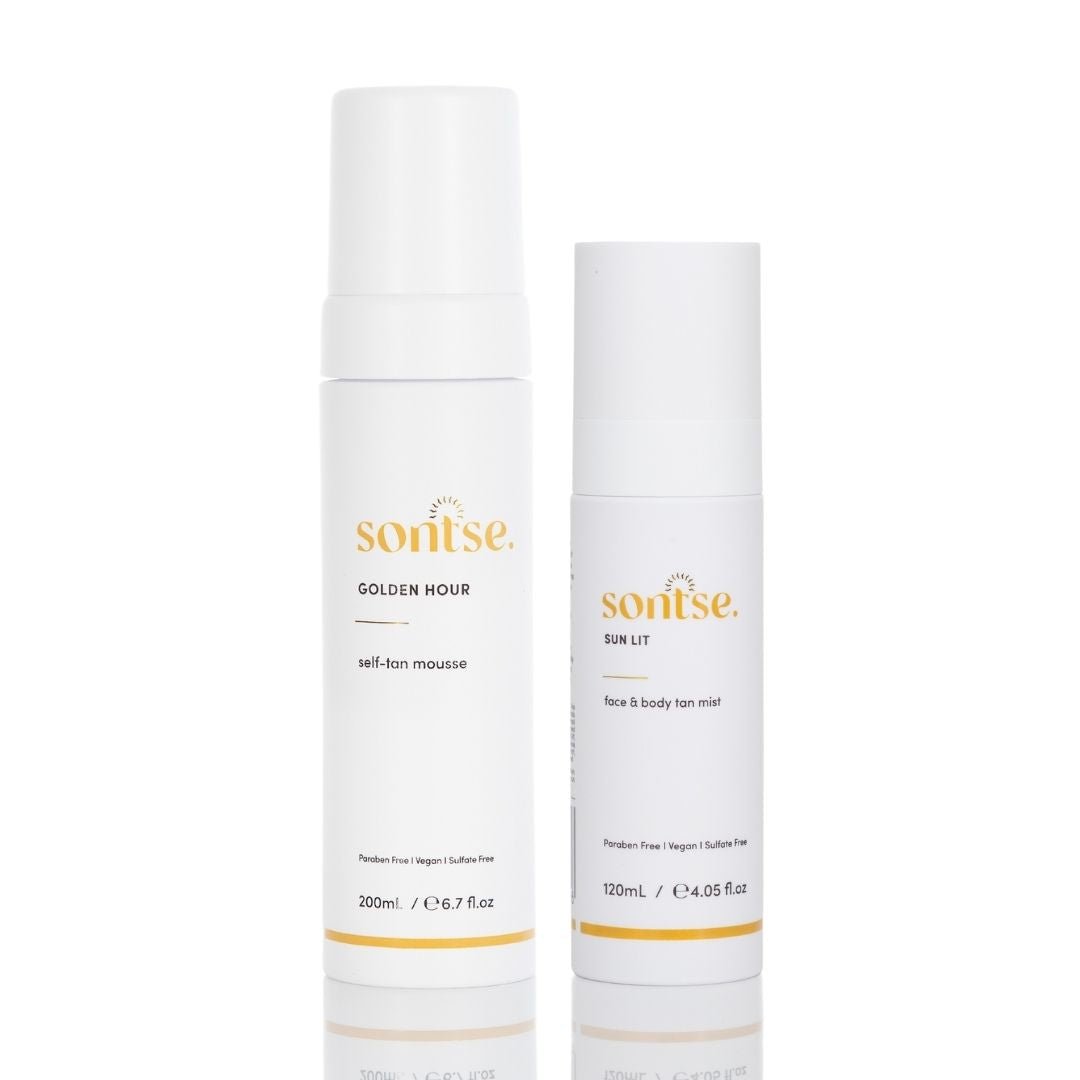
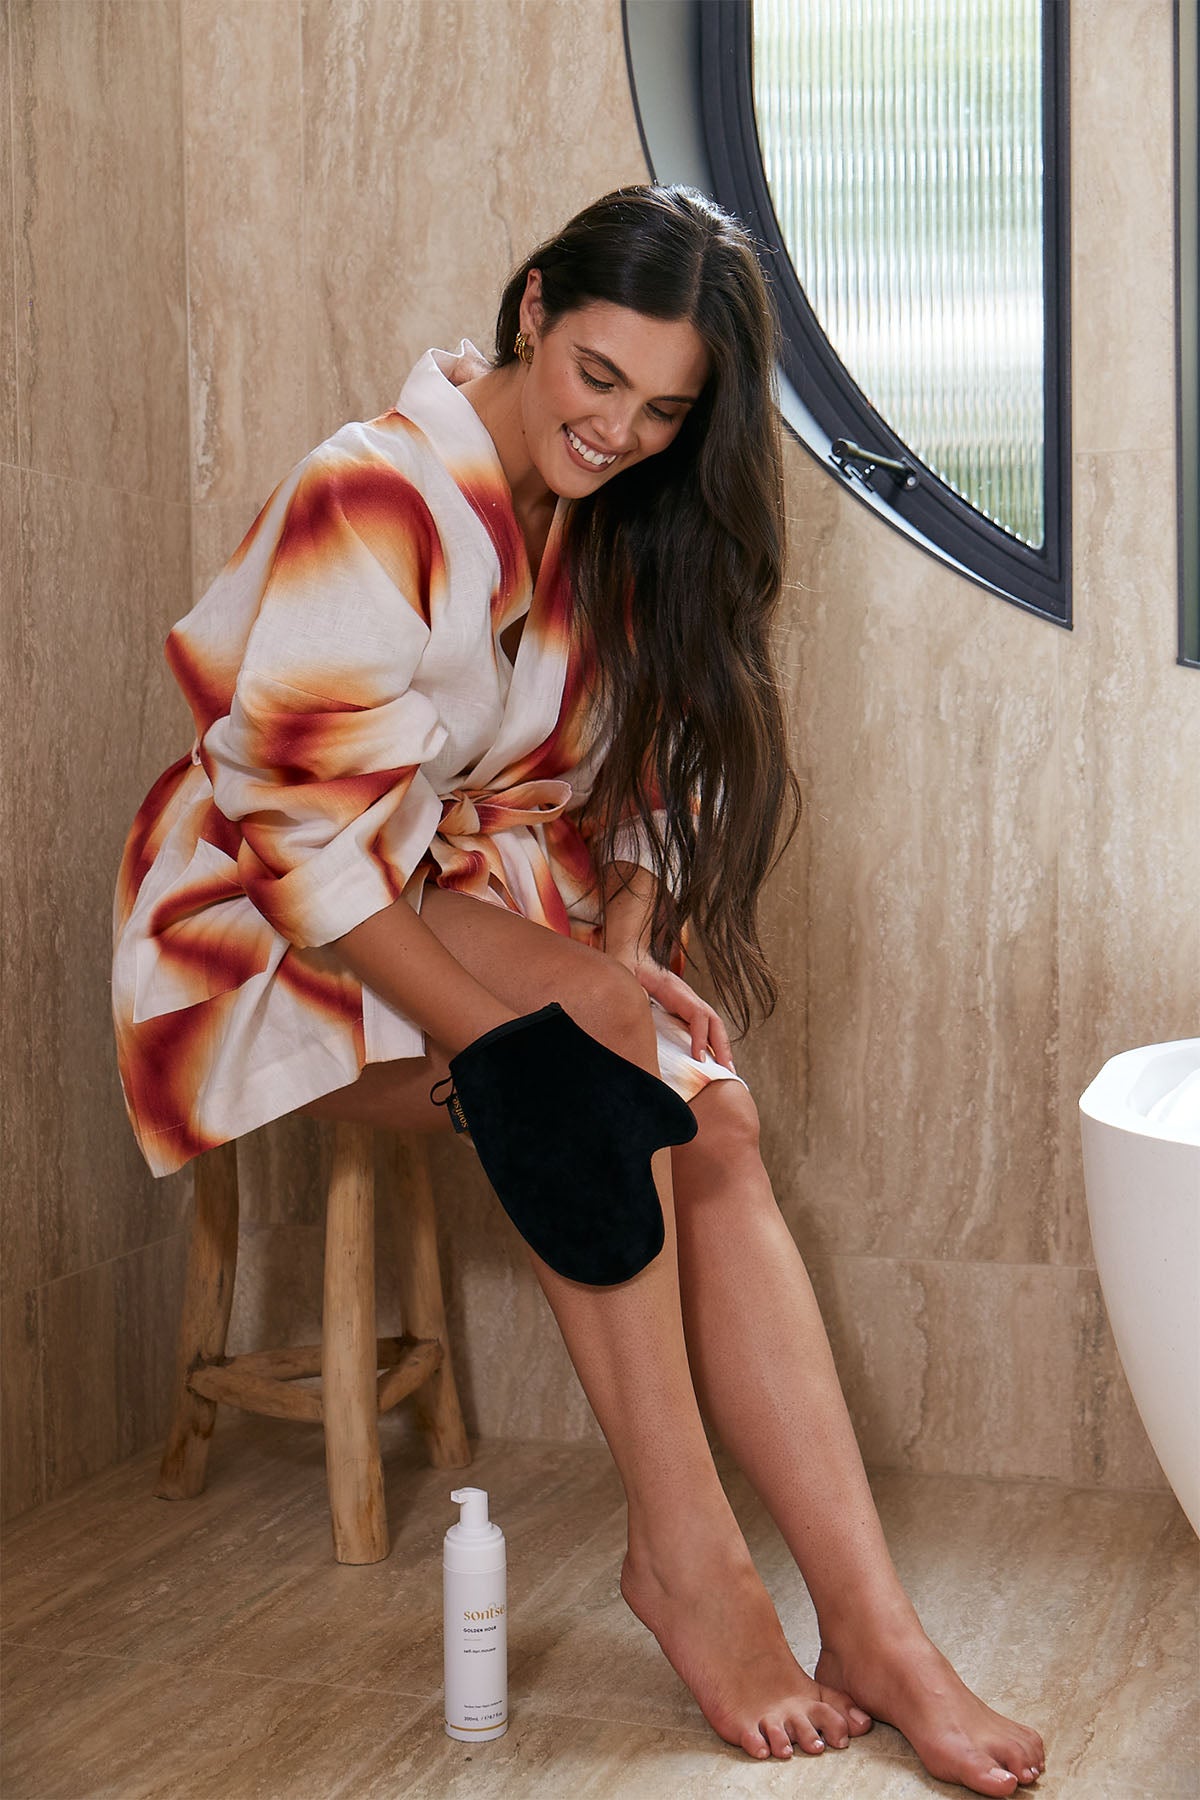
Apply a small amount of tanning mousse onto dry, clean skin with small circular motions. For best results, apply with a tanning mitt or tanning applicator. This will not only give a more even application, but it will help you avoid getting tan hands.
Leave the tan to develop for 1-2 hours for a soft, natural glow or up to 4 hours for a rich, bronzed hue.
Once your desired shade is achieved, rinse with lukewarm water and bask in the glow of your impeccably smooth tan.
We recommend
STEP 3
Smooth things over
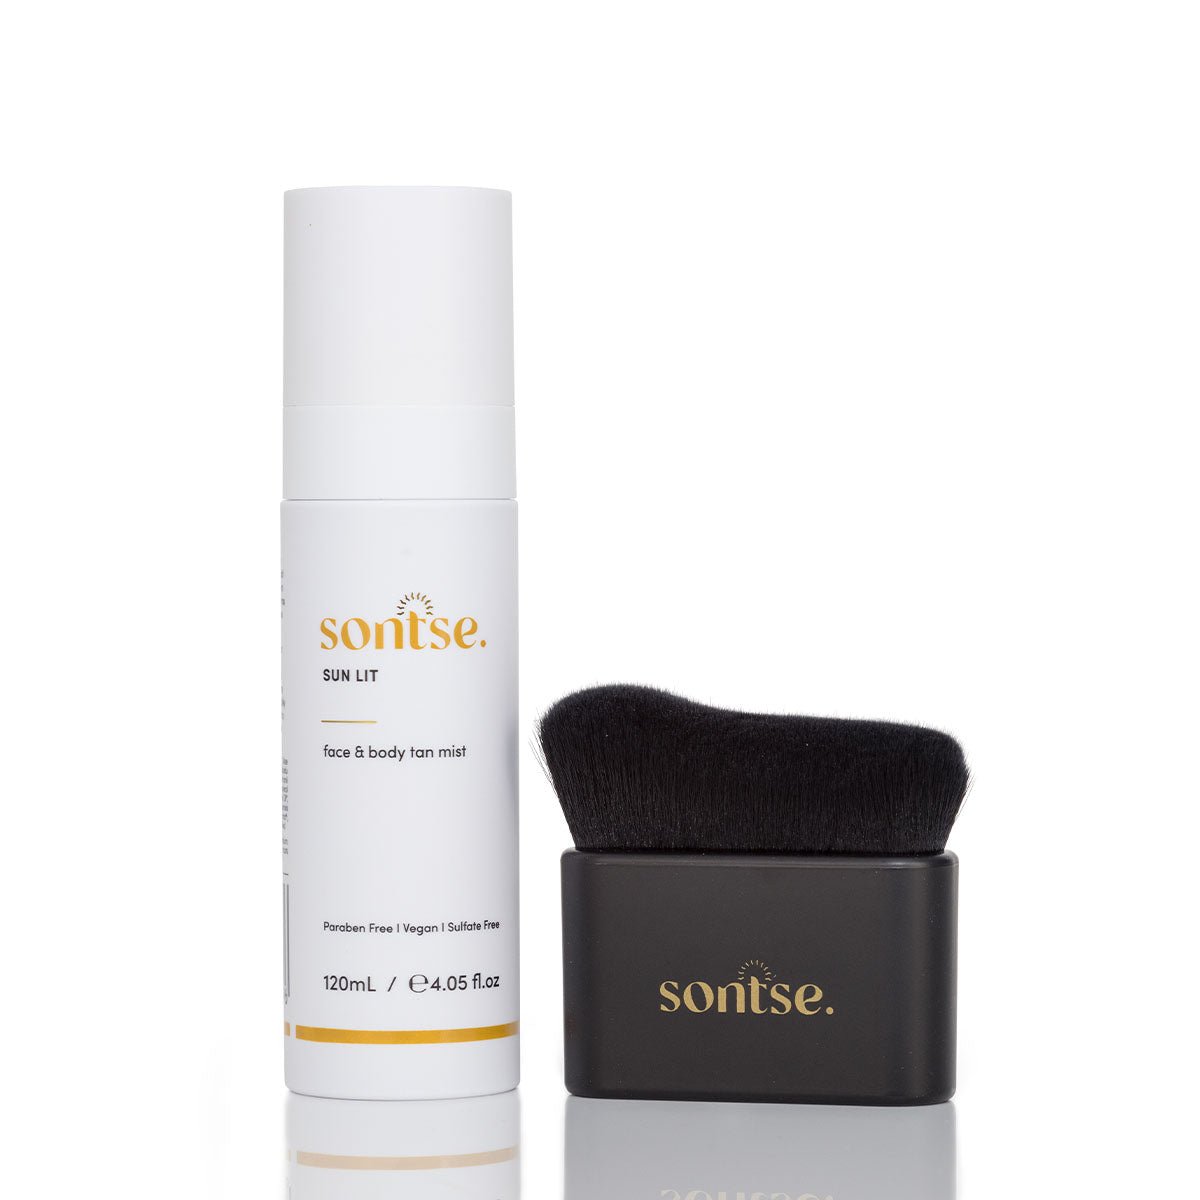
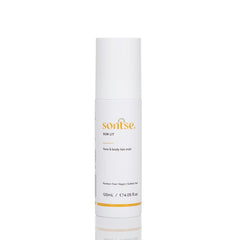
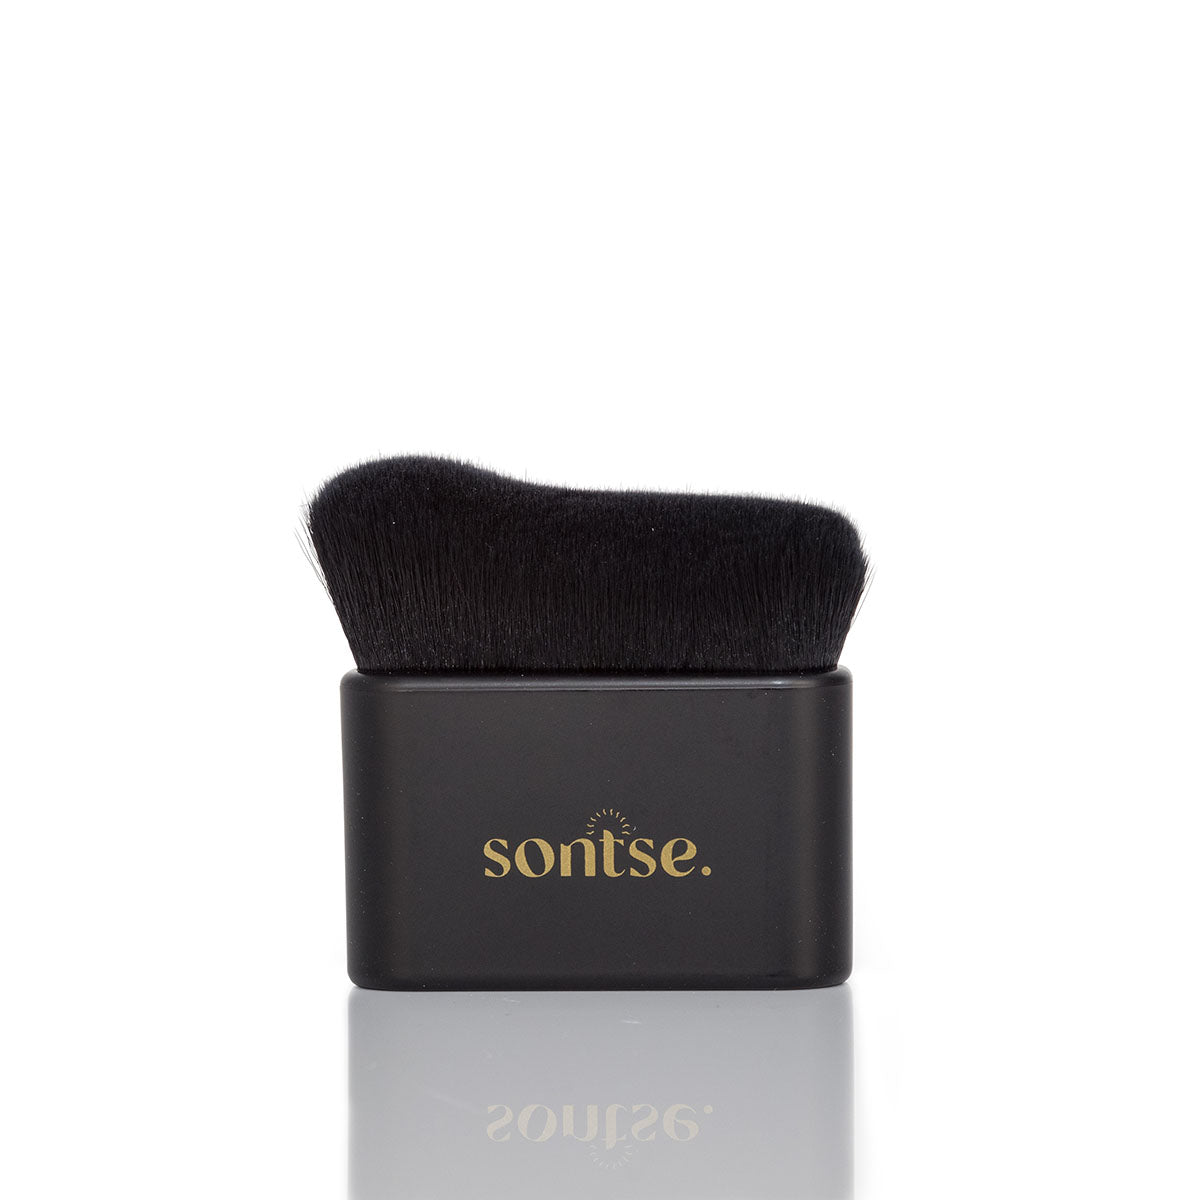
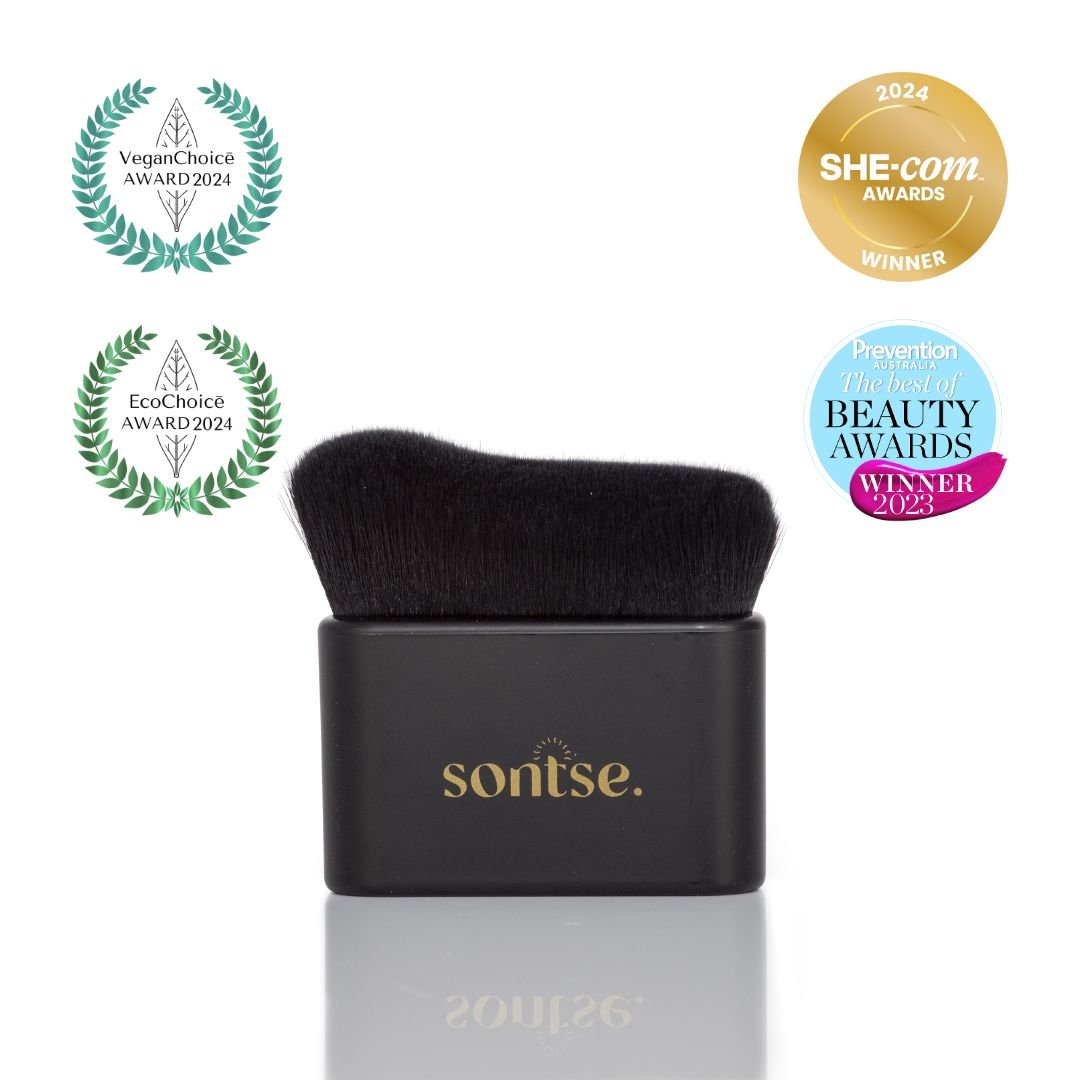
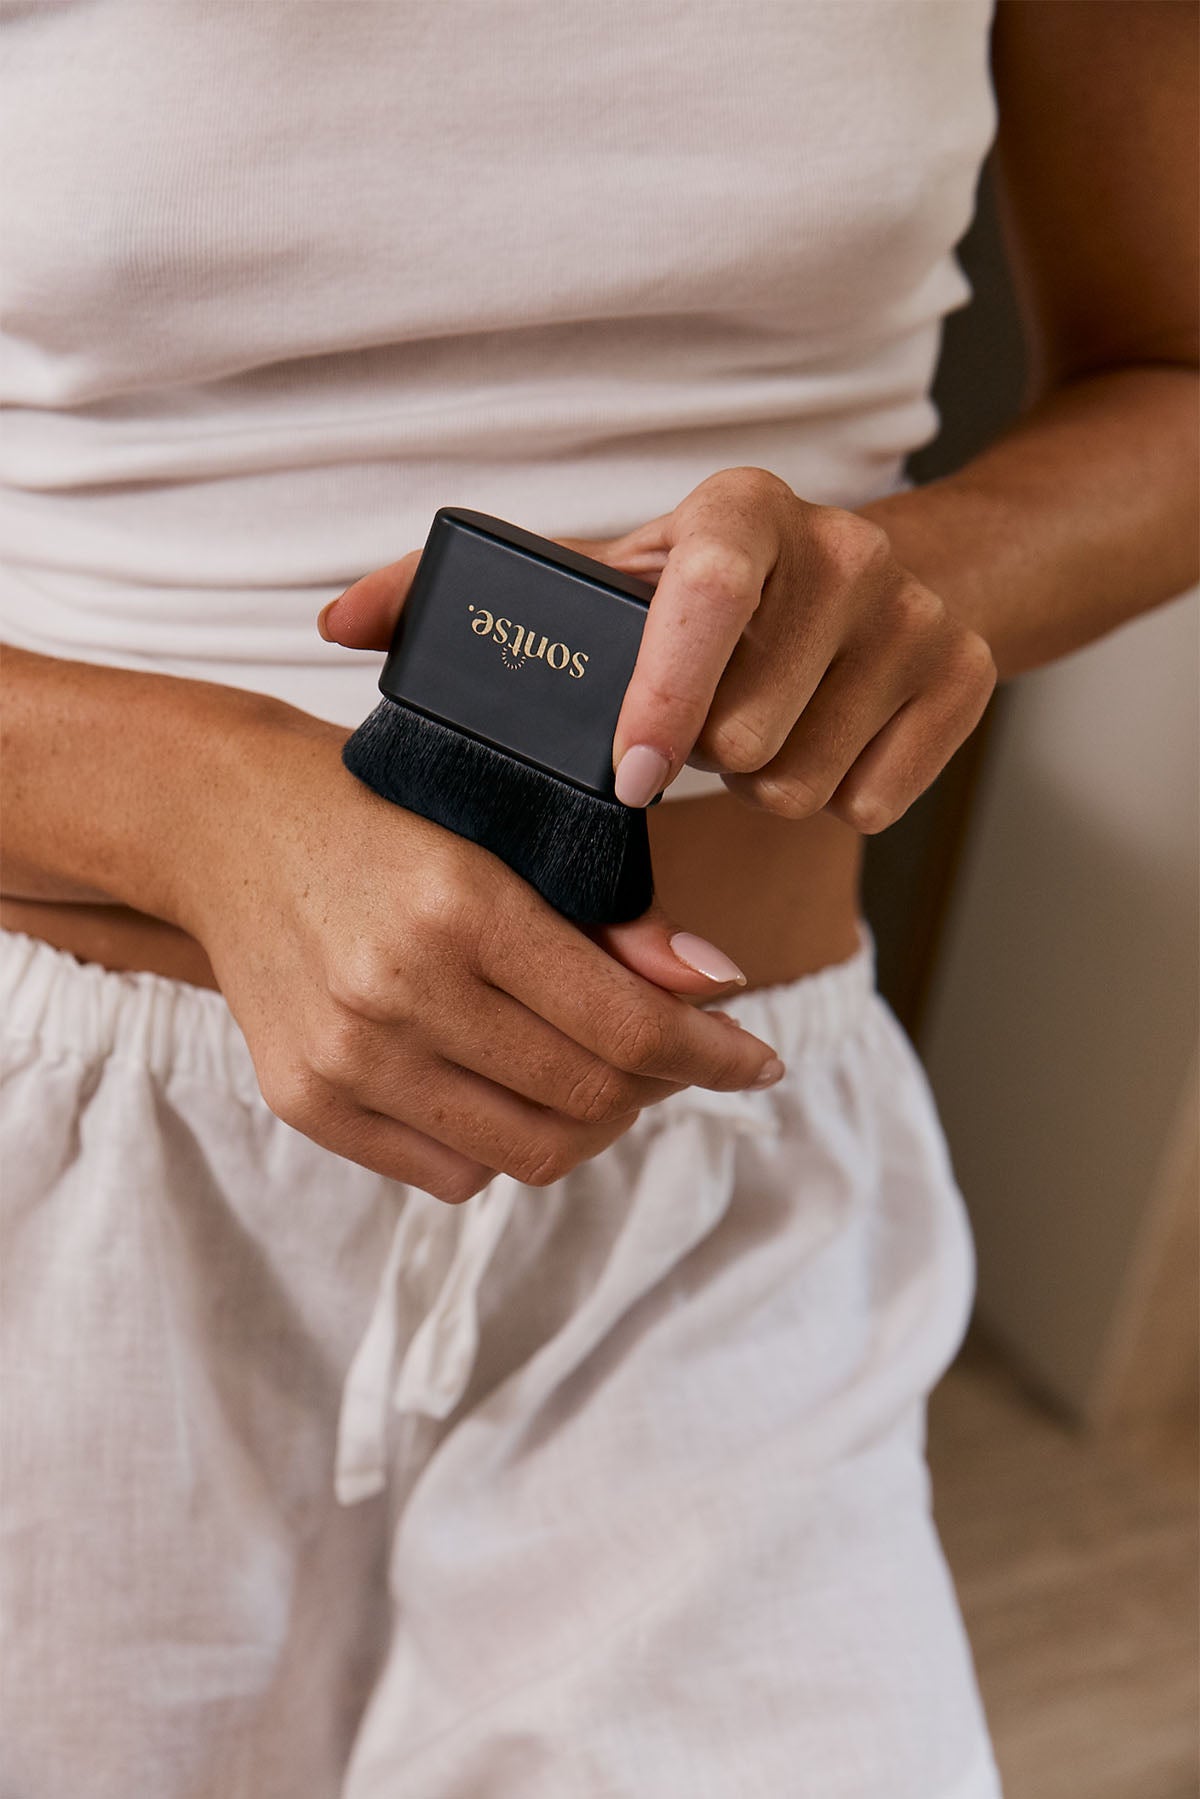
Achieving a flawless, streak-free glow is all about refining the details. To elevate your results, use a face and body blending brush to target those hard-to-reach or often-missed areas. Gently buff a small amount of tanning product onto clean, dry skin using soft, circular motions. Build colour gradually for a seamless, sculpted finish.
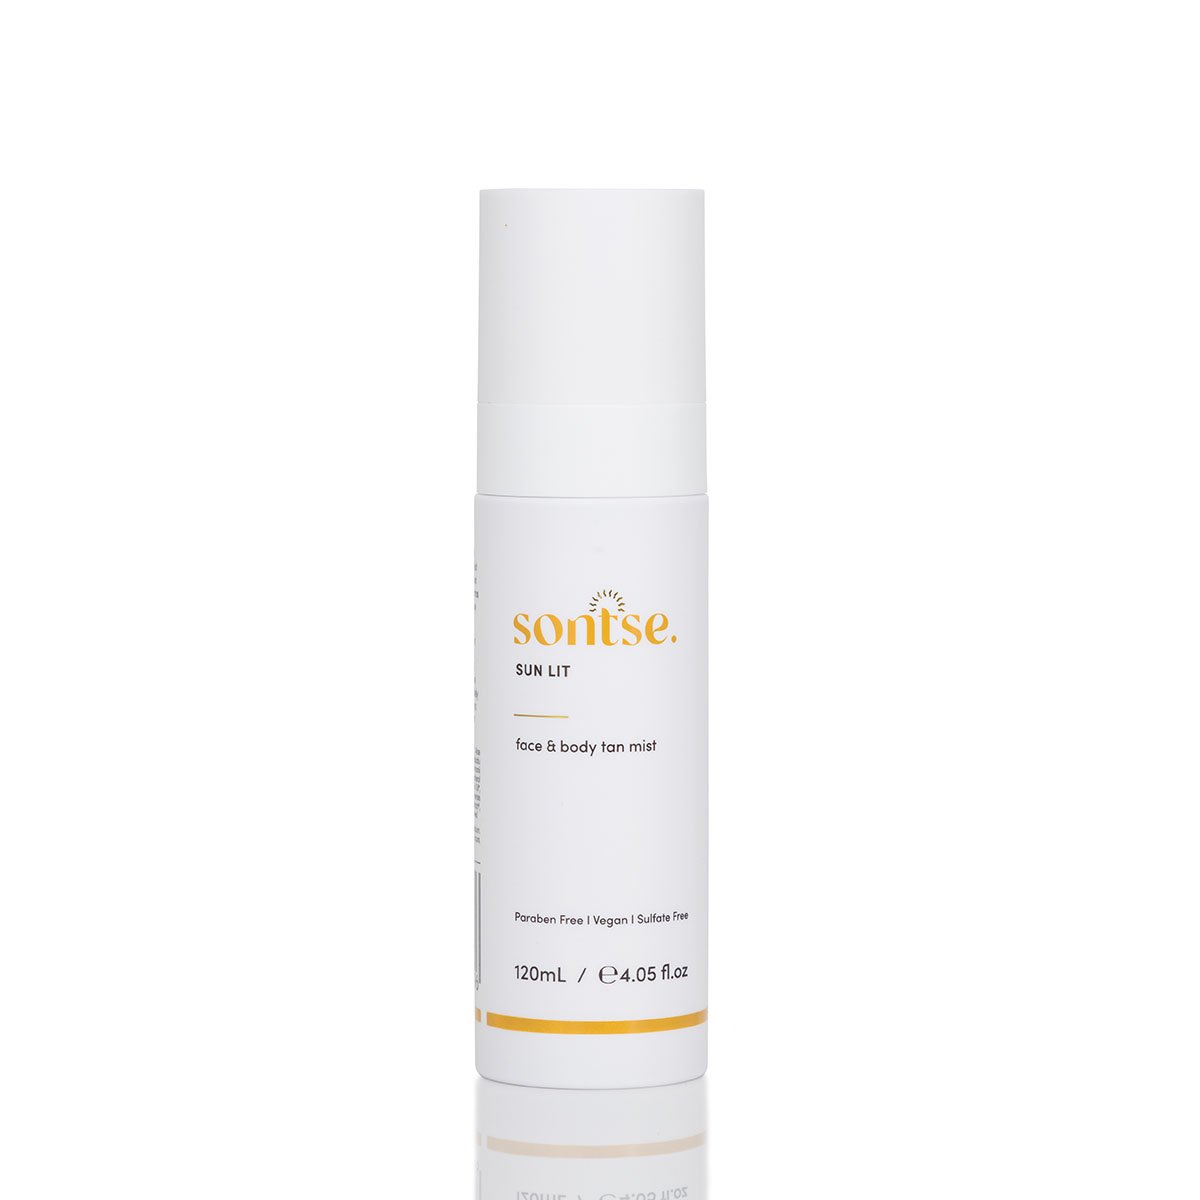
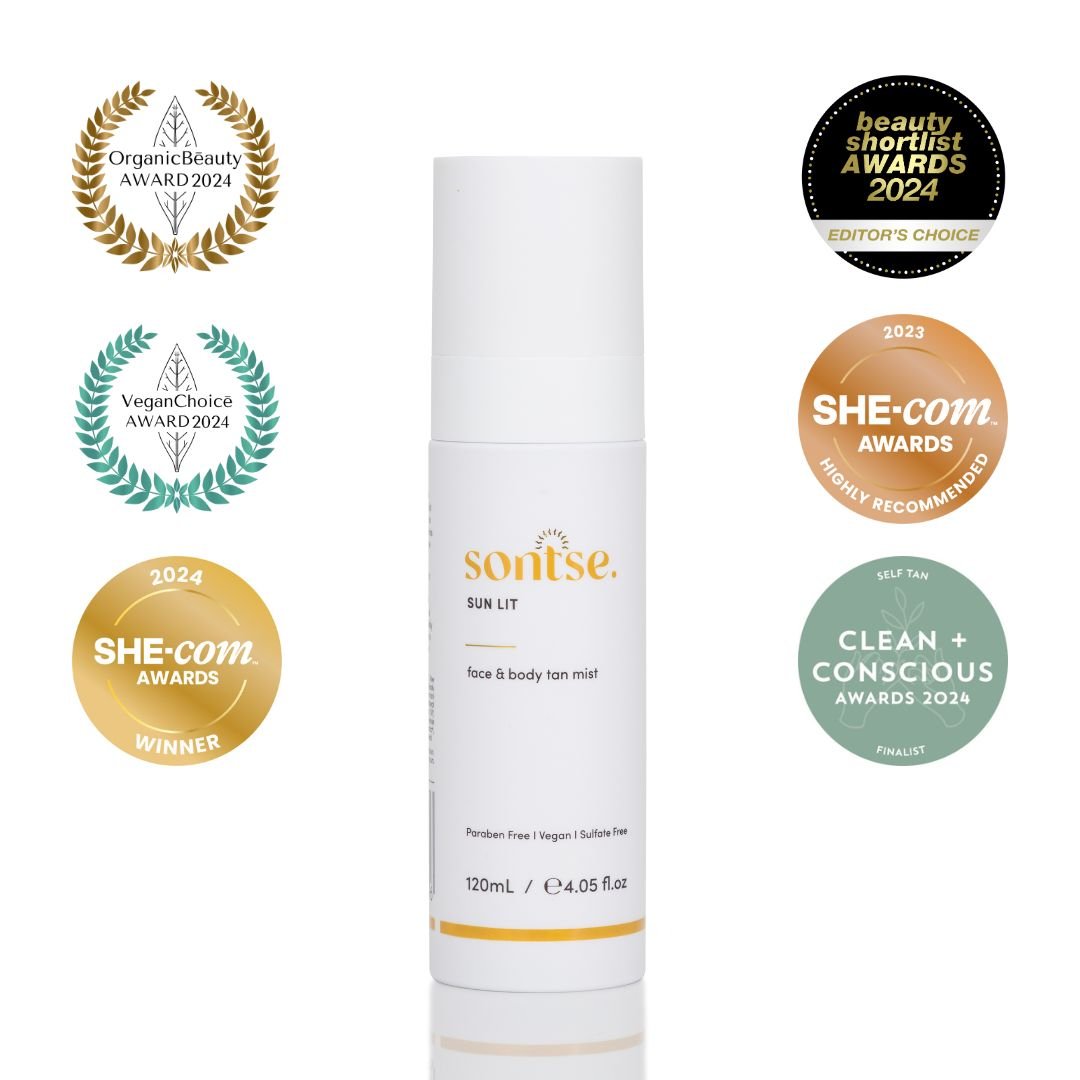
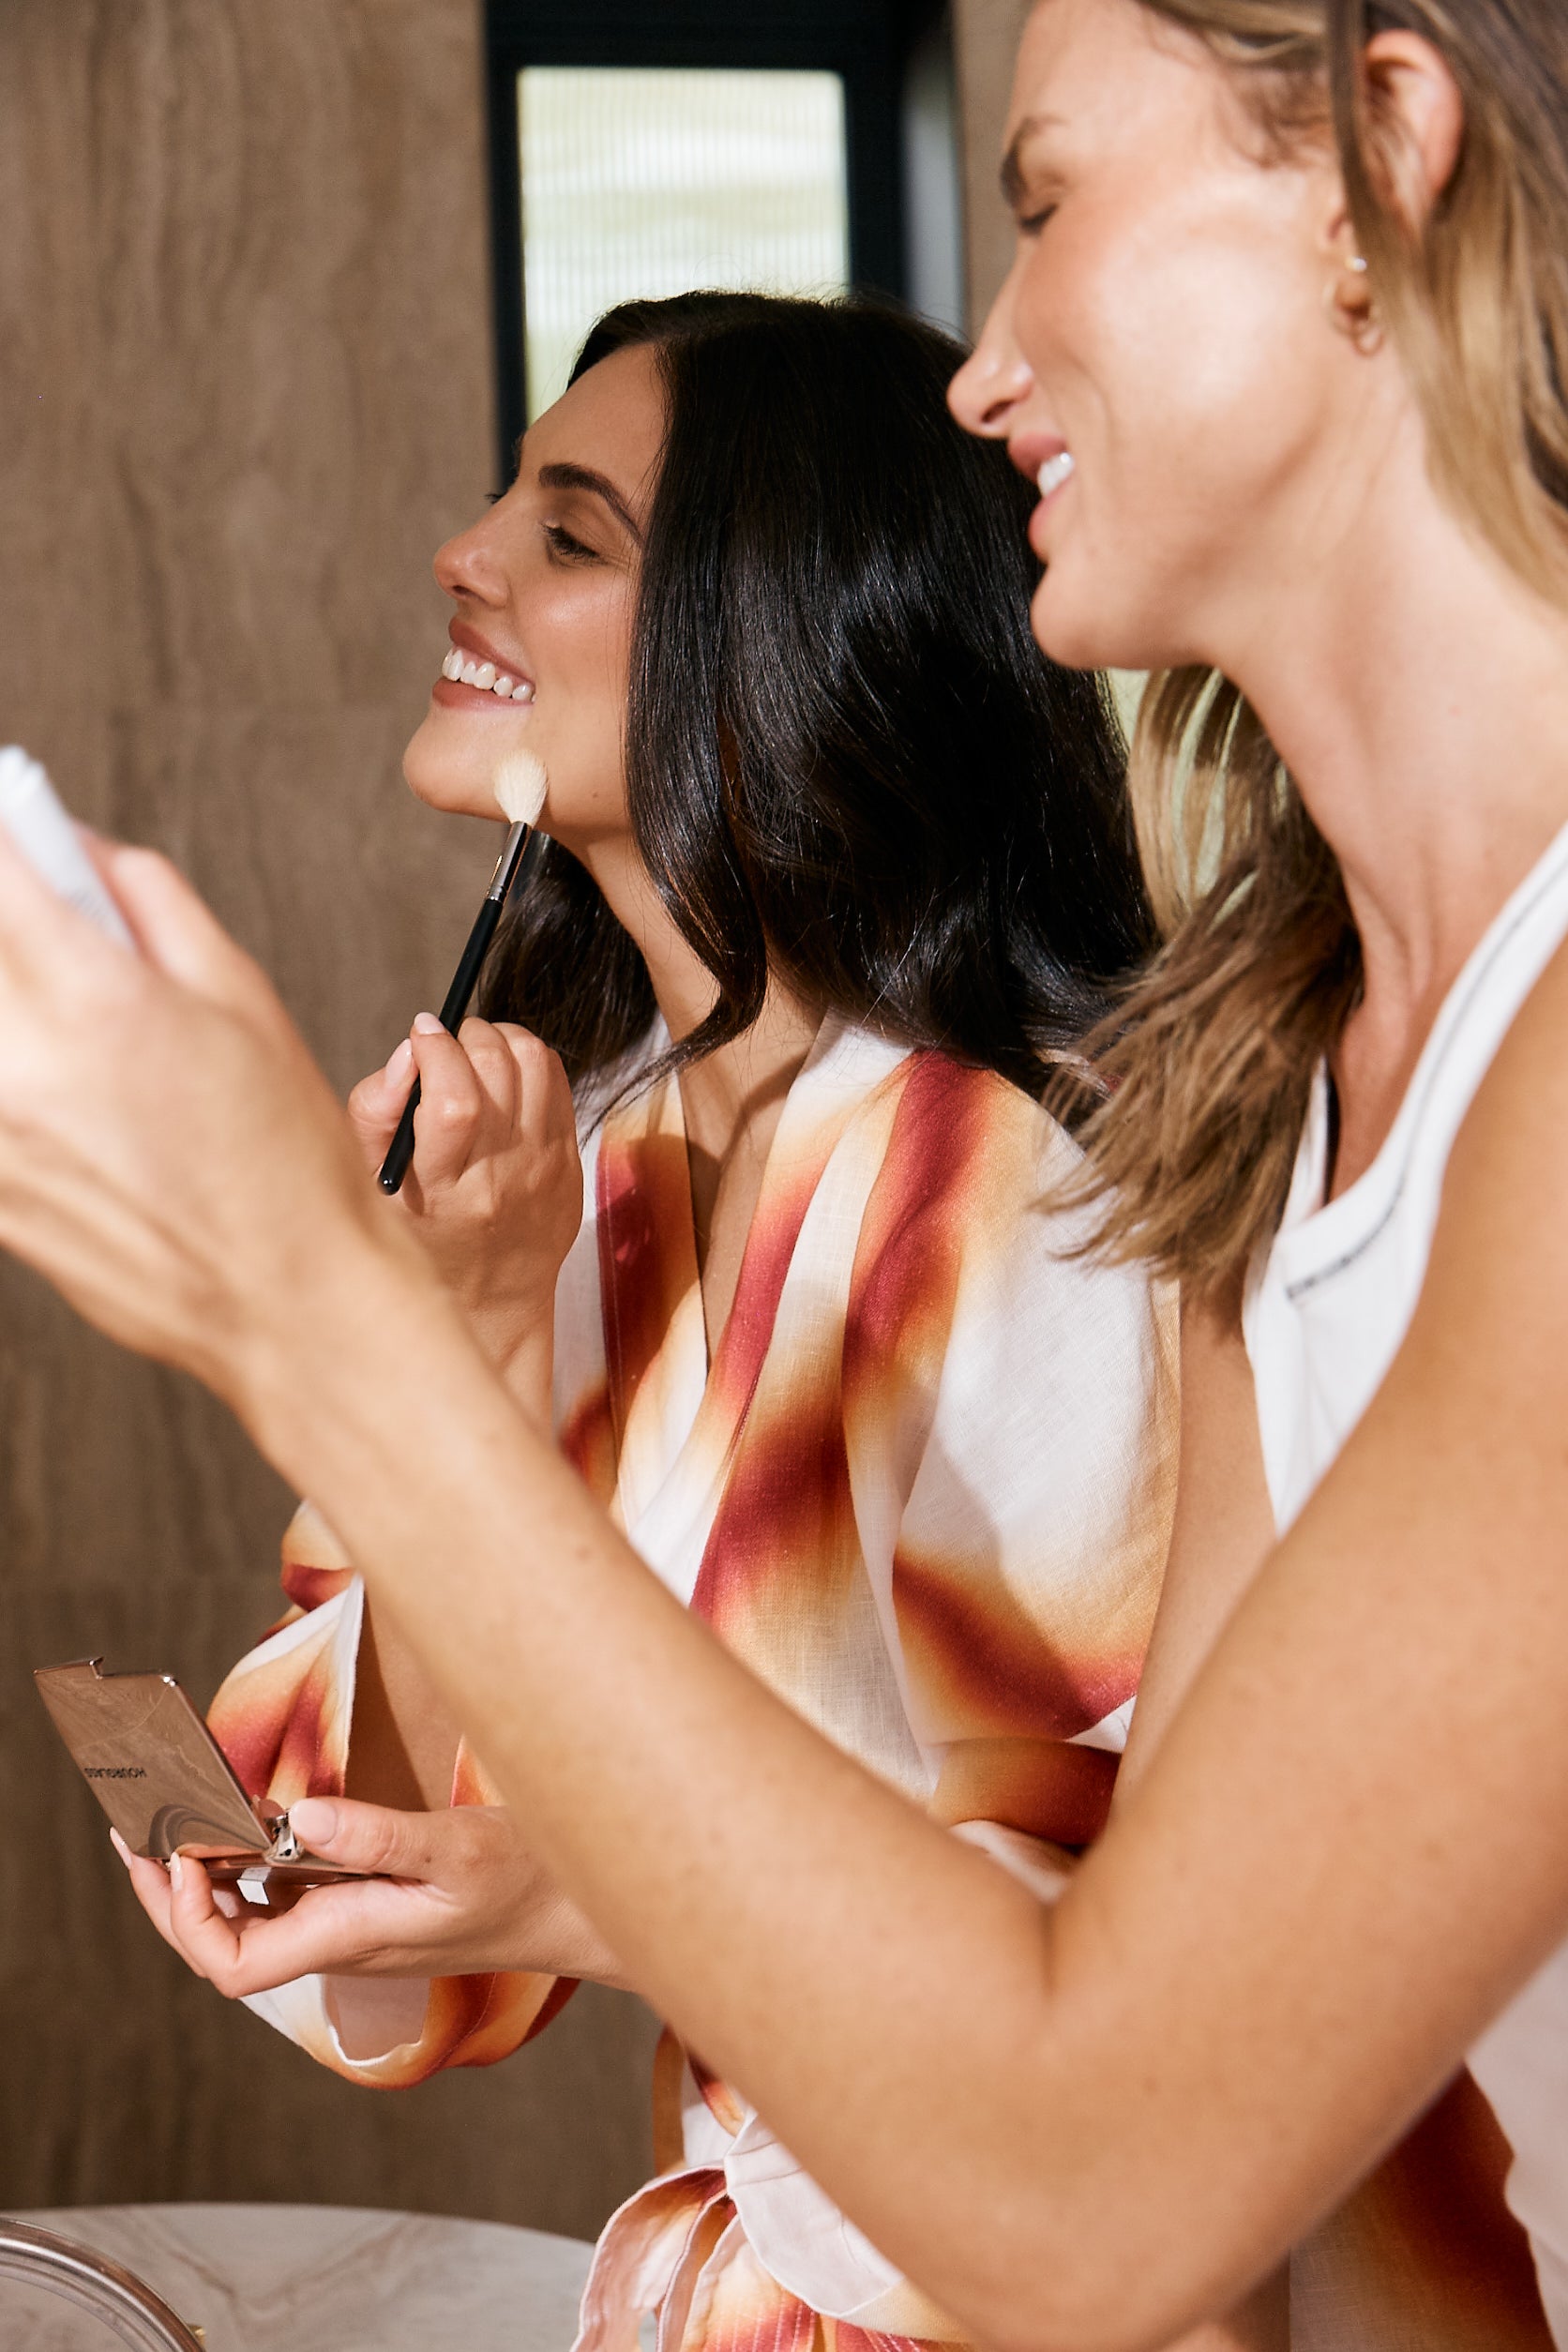
For delicate areas such as the face and décolletage, opt for a lightweight tanning mist. Apply sparingly, allow it to settle, and then blend using a Kabuki Blending Brush. Finish by lightly applying to the tops of your hands, elbows, and feet for a perfectly polished look.
Leave on for minimum 4 hours for a subtle sontse-kissed glow or up to 8 hours for a bolder glow.
Rinse and wash off in lukewarm water. Apply your SPF 50+ moisturiser before heading out into your day.
We recommend

STEP 4
Rinse and repeat
Ready to wash away your old tan, deeply cleanse your skin and prepare for a new fresh tan?
It’s so simple. Grab an exfoliating mitt and jump in the shower. Avoid using chemical self-tan removers and instead opt for this skin-loving ritual. Wetting the mitt, add a gentle cleanser or exfoliating scrub and massage in circular motions. Give a little extra attention to the elbow, knee and ankle areas. Rinse off, allow yourself to dry, and begin the tanning process again.
For vibrant, healthy-looking skin, we recommend only exfoliating once a week. Any more than this is unnecessary and can have the opposite effect. Please note if you are trying to maintain a current tan, avoid exfoliating. This will begin the removal process.
We recommend

STEP 5
Practise safe sun exposure!
You probably won’t see this step recommended or explained by other self-tanning brands. At Sontse, we’re extremely passionate about empowering you with the knowledge and wisdom to enjoy your days under the sun, as UV-damage-free as possible.
Whilst it’s tempting to assume your skin is covered when using a fake tan, it is extremely important to still slip slop slap with a quality SPF 50+ sunscreen.
Ready to give it a go?
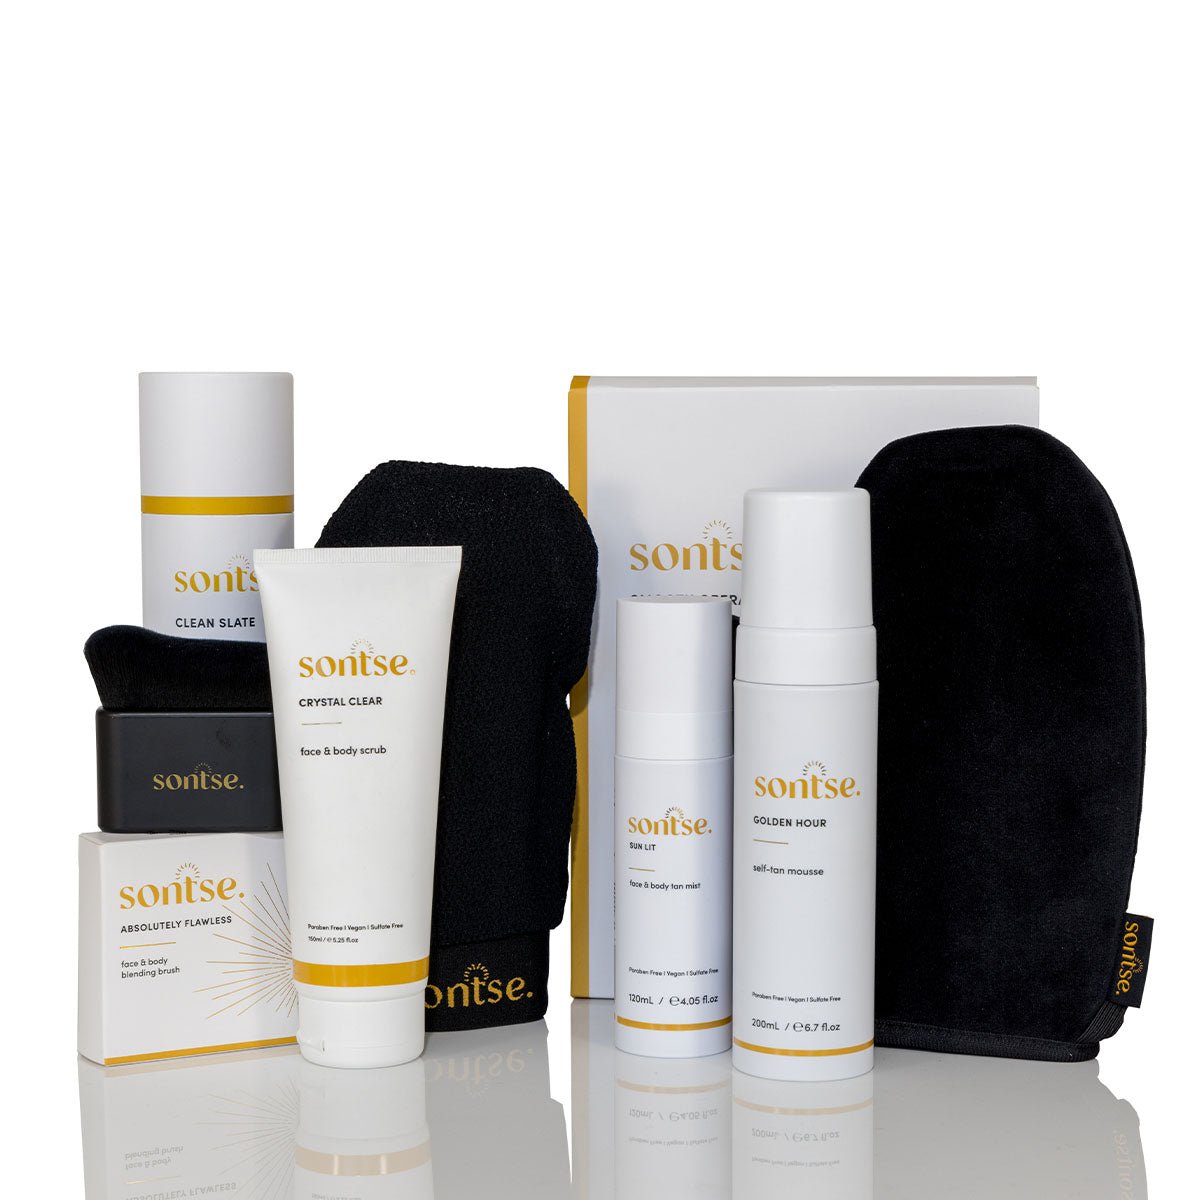
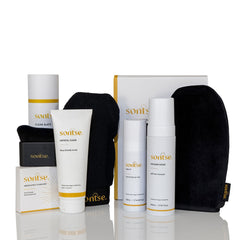
Get everything you need with our bundle offers.

