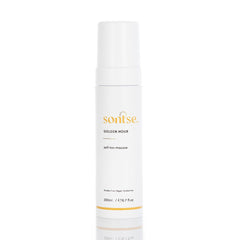
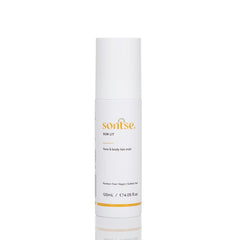
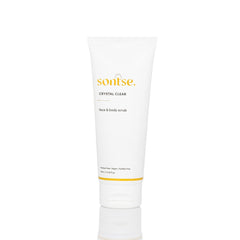
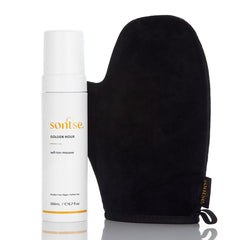
Have you spotted our Sontse sunless tanning solution in one of your local spray tanning salons? Head-turning, totally natural-looking tans are certainly what we’re known for… which is why we’re becoming popular amongst the experts. This got us thinking… sure, we’ve given you the guide for how to use your sunless tanning solution at home… but what if you’re preparing for a glow-up using a professional-grade spray tan at a salon?
If this is you and you need some tips for spray tanning, keep reading. Below is the ultimate guide to preparing and caring for a spray tan to ensure the best, longest-lasting result.
First up – the benefits of a professional spray tan
Whether for a special event, before a holiday or just to maintain a year-round healthy tan, some may opt to ditch the DIY efforts and instead book in a professional spray tan.
The pros of booking in a professional spray tan
Flawless Application:
A professional spray tan is applied by an expert who knows how to avoid streaks, patches and missed spots, giving you a smooth, even finish that’s tough to replicate at home if you’re not confident.
Quick and Convenient to Apply:
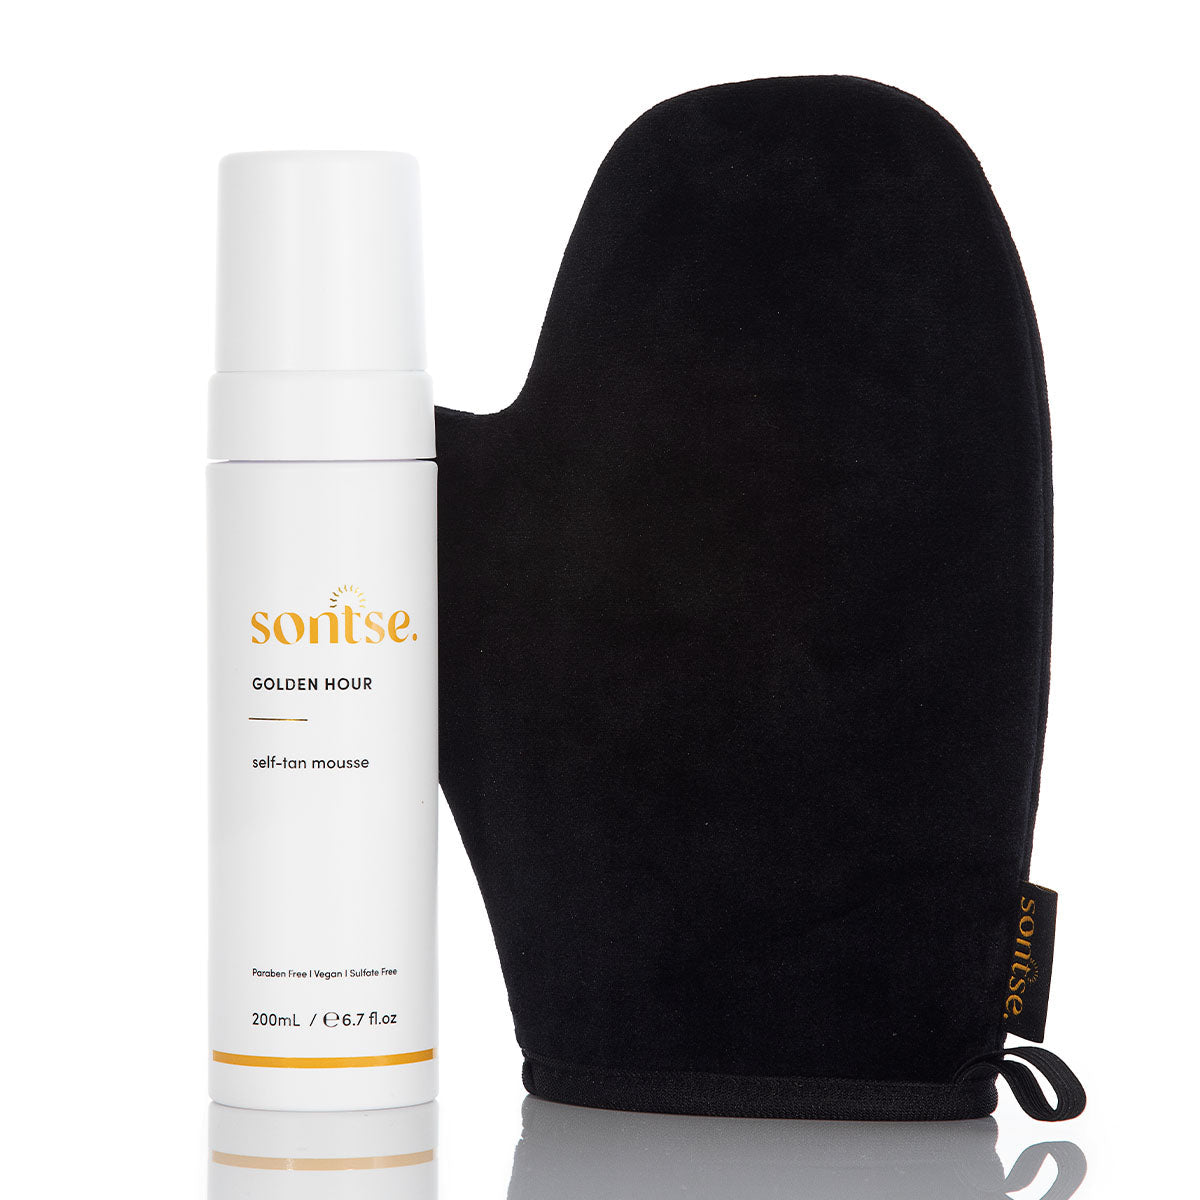
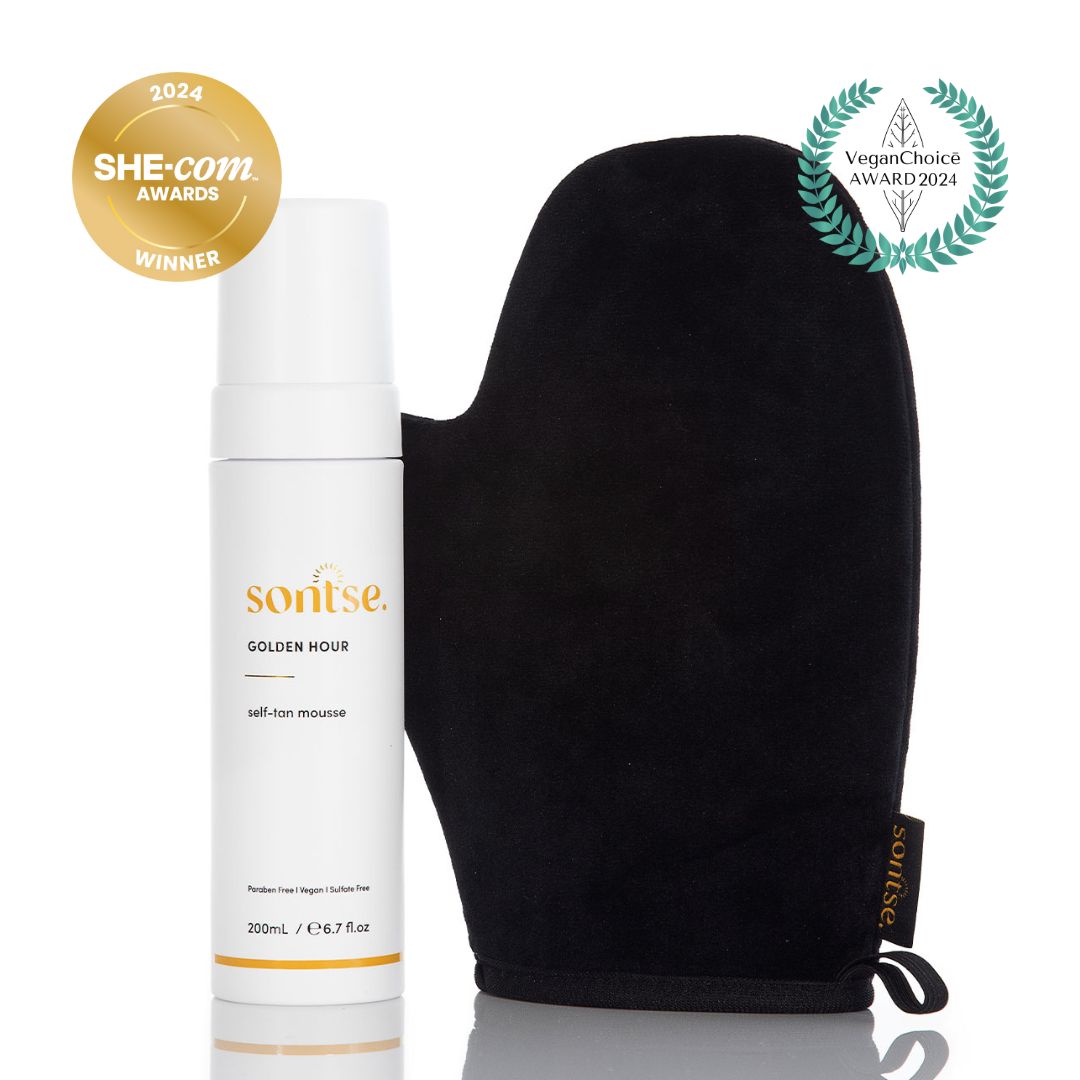
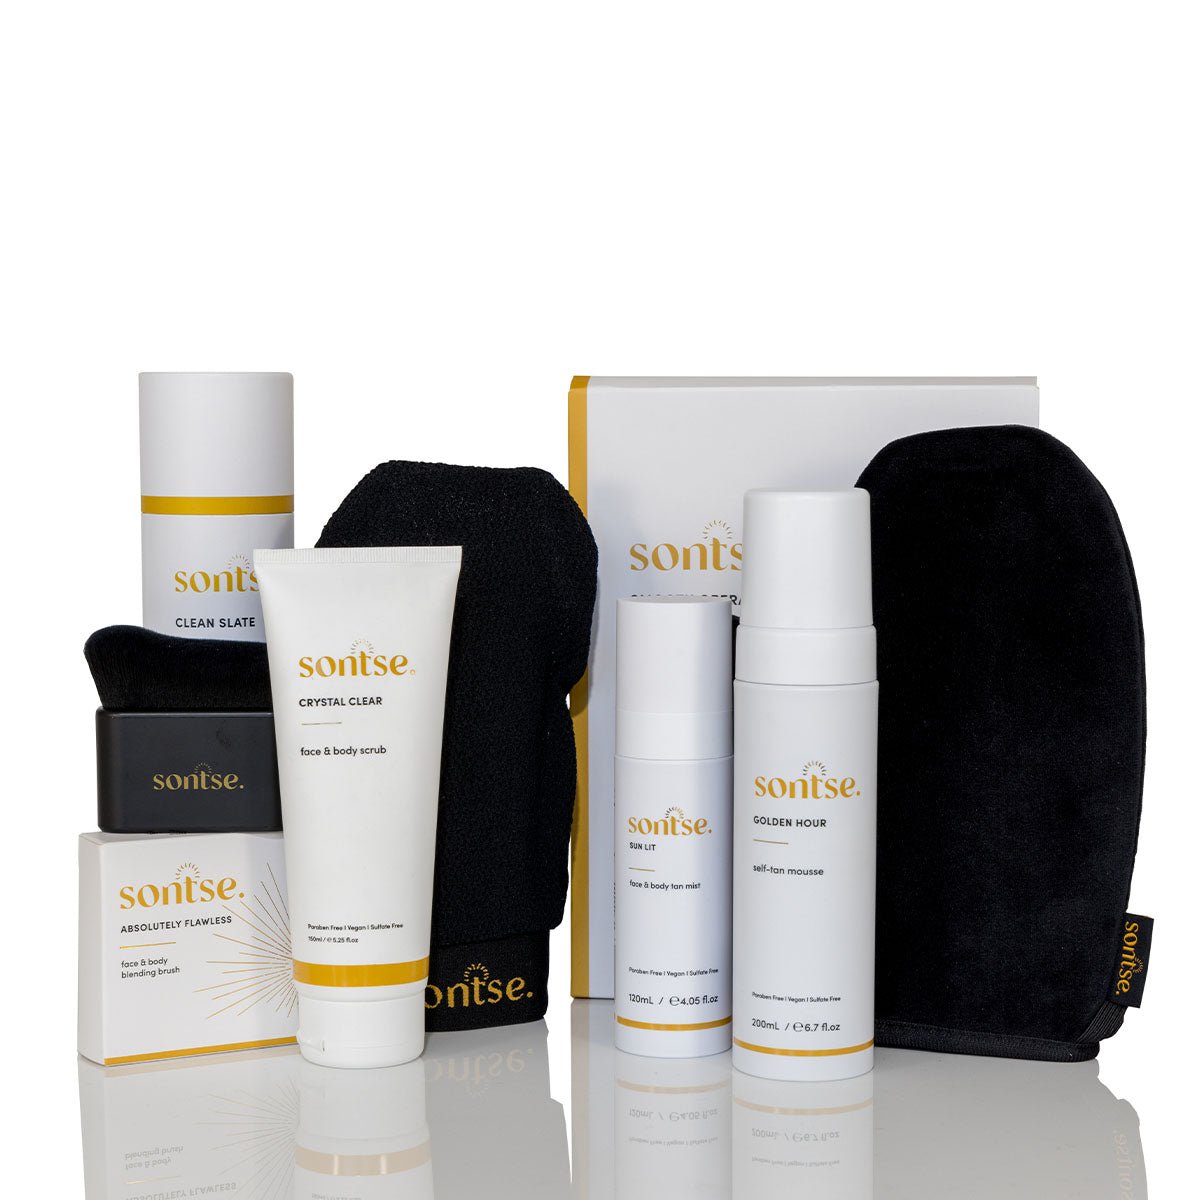
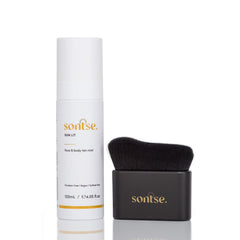
A pro tan takes about 15-30 minutes to apply, with results that develop over a few hours. DIY tans can be time-consuming, especially if you’re not experienced, and might require more effort to perfect. *Psst… this is why our Sontse Golden Hour Self-tanning Mousse is an absolute WIN for DIY-ers - its super natural look makes streaks a thing of the past, and, should you miss a spot, dab a little more solution with our Sontse Absolutely Flawless Blending Brush and you’ve got a streak-free tan in minutes!
Professional Products:
Salons use high-quality, often salon-exclusive products that are formulated for long-lasting colour and even fade. DIY products can vary in quality, leading to less predictable results. Again, the fact that Sontse Golden Hour Self-Tanning Mousse is being sought out by salons, says it all – this is a professional grade product and we’re super proud!
Stress-Free Experience:
Let’s be honest, letting someone else do the work is always a plus. With a professional spray tan, you don’t have to worry about bending in awkward positions to reach every spot.
Nonetheless, there are some downsides to booking a professional spray tan.
The cons of booking a professional spray tan
Cost:
Professional spray tans are more expensive than DIY options. If you’re on a budget, DIY might be the more affordable choice.
Time Commitment:
While a pro tan is quick, you still have to make an appointment, travel to the salon, and potentially wait for your turn. DIY can be done anytime, anywhere.
Maintenance Required:
Both options require some aftercare, but with a professional tan, you’ll need to follow specific instructions to maintain the result, which can be a bit more intensive.
Limited Control:
With DIY, you’re in complete control of the application process, which can be a pro if you know what you’re doing. With a professional, you’re relying on their expertise and may have less say in the exact outcome.
How does a spray tan work?
New to spray tanning and wondering ‘How does a spray tan work?’ Girl, keep reading – we got you!
First is the application
During your spray tan, you’ll step into a booth or have a skilled technician work their magic with a spray gun, evenly misting your skin with the tanning solution. It’s quick, it’s easy, and the formula is packed with DHA (the secret sauce for that gorgeous tan), plus bronzers for an instant glow and nourishing ingredients to keep your skin looking and feeling fabulous.
Next comes the development
Once you’re all spritzed and glowing, the DHA gets to work, deepening your tan over the next few hours. It’s like watching your glow-up in slow motion! Most tans hit their peak colour after 24 hours after initial application, so while you’re out conquering your day (or sleeping), your tan is developing in the background. Just a heads up—try to steer clear of water, sweat, and showers during this time to keep everything even.
So you’ve gone to all this effort… how long will it last? Your new sun-kissed look will stick around for about 7-10 days, gradually fading as your skin naturally exfoliates and sloughs off dead skin cells.
Now, what you came here for… How to prepare for a spray tan
Need tips on how to prepare for a spray tan including what to wear to spray tan salons, tips for spray tanning best results and suggested items you may need to make your glow even more glorious?
The good news is preparing for a spray tan is not that different from your DIY self-tanning routine. At the end of the day, the goal is to clean, buff and prep the skin so that all the lumps and bumps and dead skin cells are removed before applying.
Shower and shave/wax
Before your spray tan appointment, jump in the shower and give yourself a good scrub. Shave any areas you usually do (like legs or underarms) because you’ll want a smooth canvas for that tan to stick to. Just make sure to do this at least 24-48 hours before your appointment to avoid any irritation.
Preparing for a spray tan? Exfoliate like a pro…
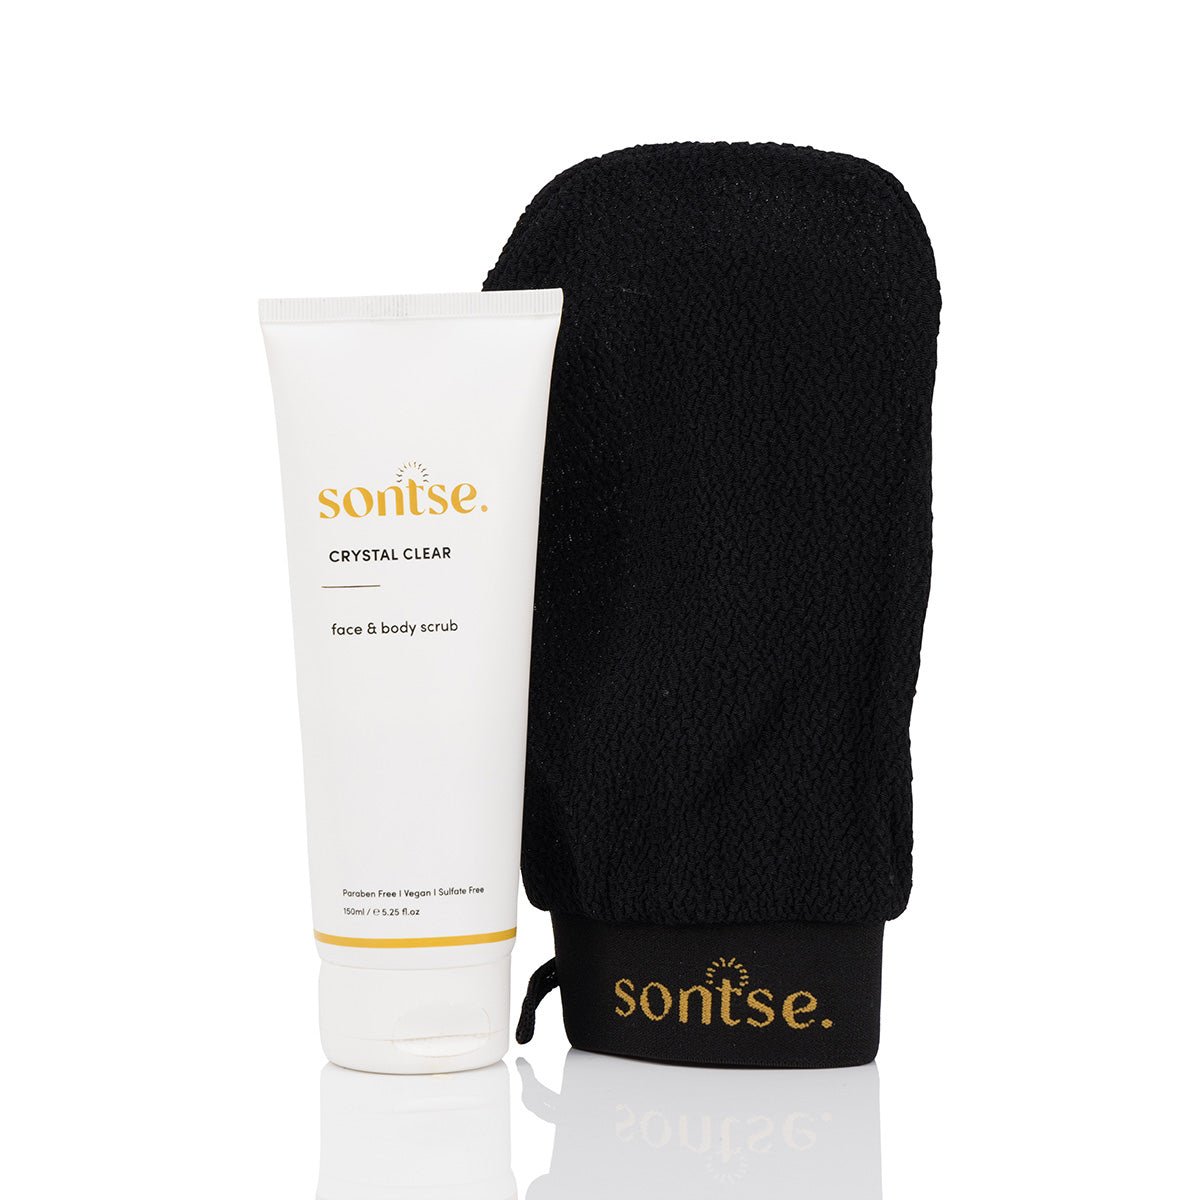
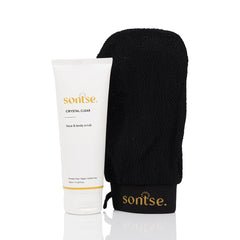
Exfoliation is your BFF here. Use a gentle scrub like this or an exfoliating mitt to slough off dead skin cells, focusing on dry areas like elbows, knees, and ankles. This helps your tan go on evenly and last longer. Skip any oily scrubs, though—they can leave a residue that messes with the tan’s absorption.
Skip the moisturiser (for now)
As much as we love a good lather, on the day of your spray tan, hold off on the lotion, oils, and perfumes. These can create a barrier on your skin that might lead to patchy spots. The only exception? If you’ve got super dry areas, like your elbows or knees, a light dab of moisturiser can help the tan apply more smoothly there.
What to wear to spray tan sessions
When it comes to your spray tan outfit, think loose and dark. Tight clothes can rub against your fresh tan and mess with the finish, so opt for something comfy like a loose dress or baggy pants. Dark colours are a win because they won’t show any marks if the tan rubs off a little. Flip-flops are a good idea, too—no socks or tight shoes that could leave lines.
Go bare (almost):
During the spray tan, you can wear as much or as little as you feel comfortable with—most people go for a strapless bra, undies, or a bikini. Just remember that whatever you wear will leave tan lines, so plan accordingly!
Of course, our tips for a good spray tan wouldn’t be complete without discussing aftercare. So keep reading friend.
Spray tan aftercare: the rules of spray tanning you cannot miss!
So here’s the thing: the aftercare of spray tans is just as critical as the preparation and application. So below are our after spray tan care tips based on a few FAQs to help you extend that tan you paid for a little longer if possible!
How long after a spray tan can you shower?
After your spray tan, you need to let the magic happen! We know.. the anticipation is high, right? But try to leave the tan on for 8-12 hours before showering—this gives the DHA time to fully develop that gorgeous glow. If you’re in a rush, some rapid tans can be rinsed off sooner, but always follow the advice from your salon.
Can I shower with soap after a spray tan?
That first shower after spray tanning is critical. When it’s time to rinse off, use lukewarm water and skip the soap for this first shower. Just a quick rinse to wash off the developing bronzer—that’s it! Pat yourself dry gently with a towel, don’t rub, as your tan is still settling.
A few more tips for spray tans: what to use and not to use
Hydrated skin is happy skin, and it helps your tan last longer and fade evenly. After your second shower, make moisturising with a beautiful, clean, non-toxic moisturiser a daily ritual. Opt for a tan-friendly lotion that’s free of harsh chemicals and oils. The more hydrated your skin, the longer your tan will stick around.
Oh and avoid exfoliants and harsh products like the plague. Steer clear of exfoliating products, AHAs, BHAs, and retinoids while you’re rocking your tan—they can break down the color faster. Instead, use gentle, hydrating skincare products that are tan-safe.
Can I shave after a spray tan?
Skip the shaving (if you can). Shaving is a form of exfoliation, which can cause your tan to fade unevenly. If you must shave, do it as gently as possible, using a fresh razor and plenty of shaving cream to avoid stripping your tan. Ultimately, this is why we advise doing your shaving prior to your appointment.
Still wondering how to make a spray tan last longer? Use this!
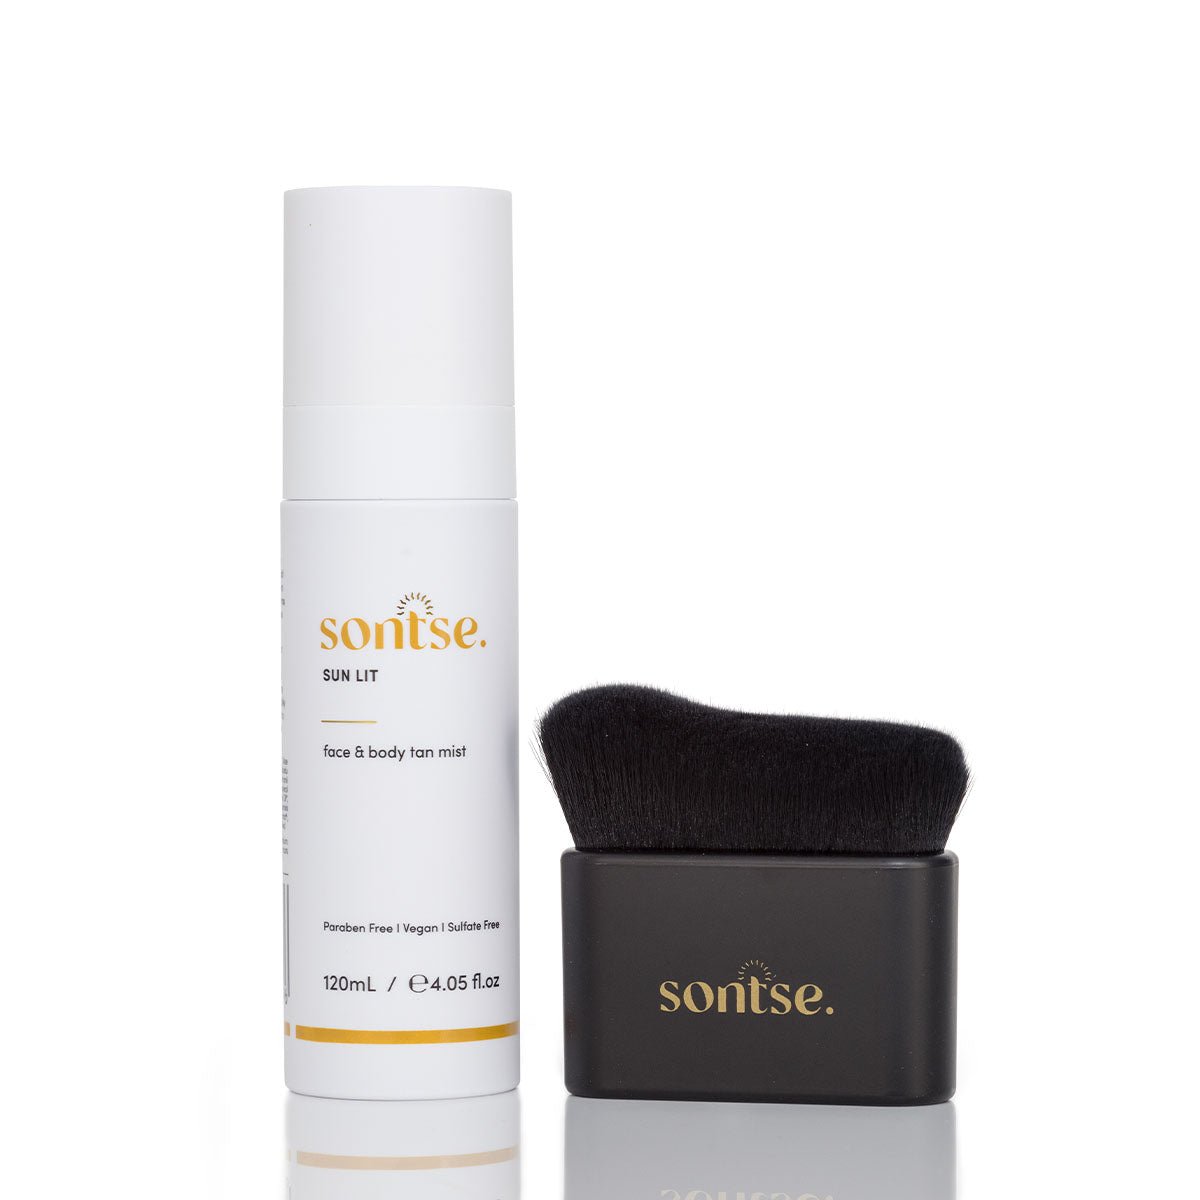
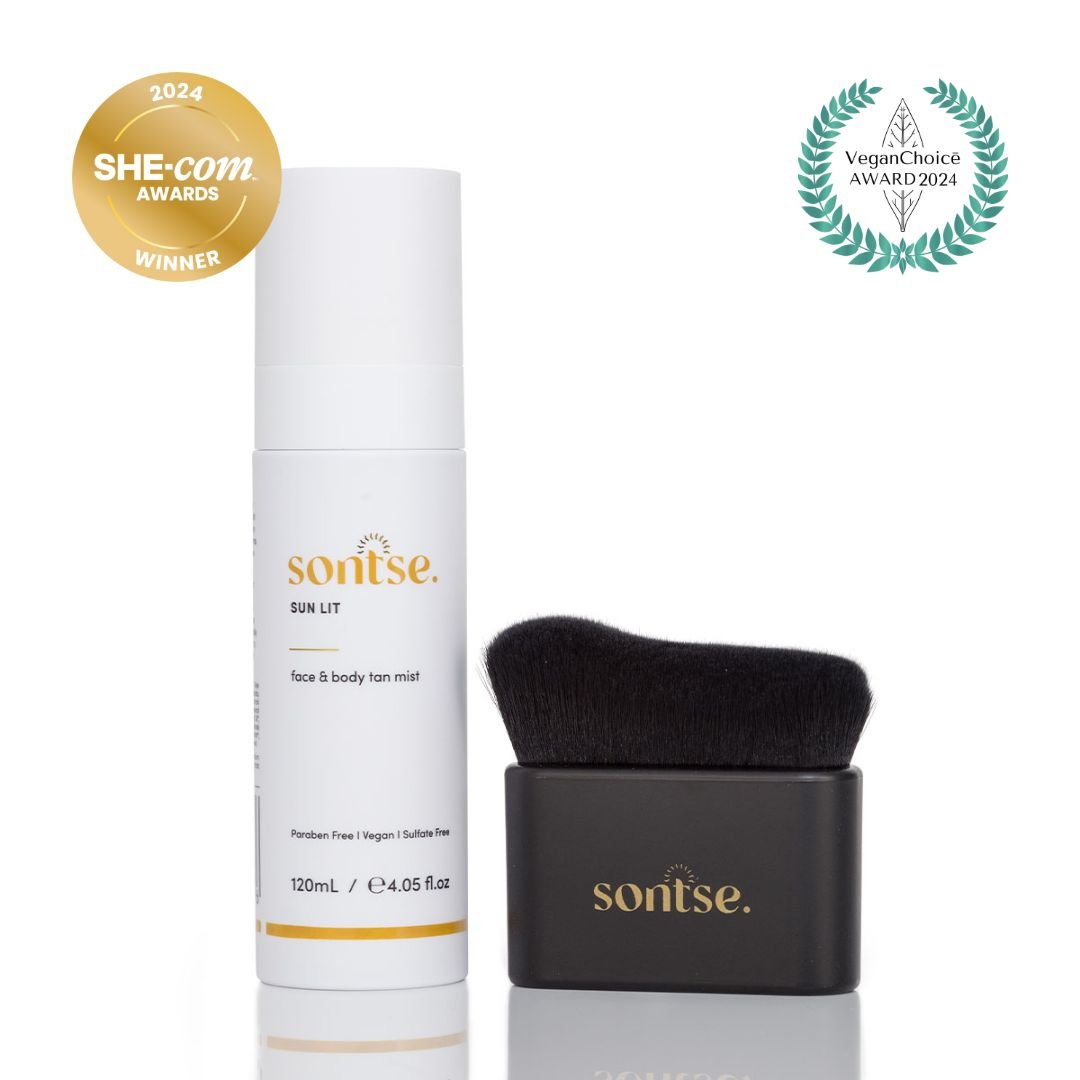
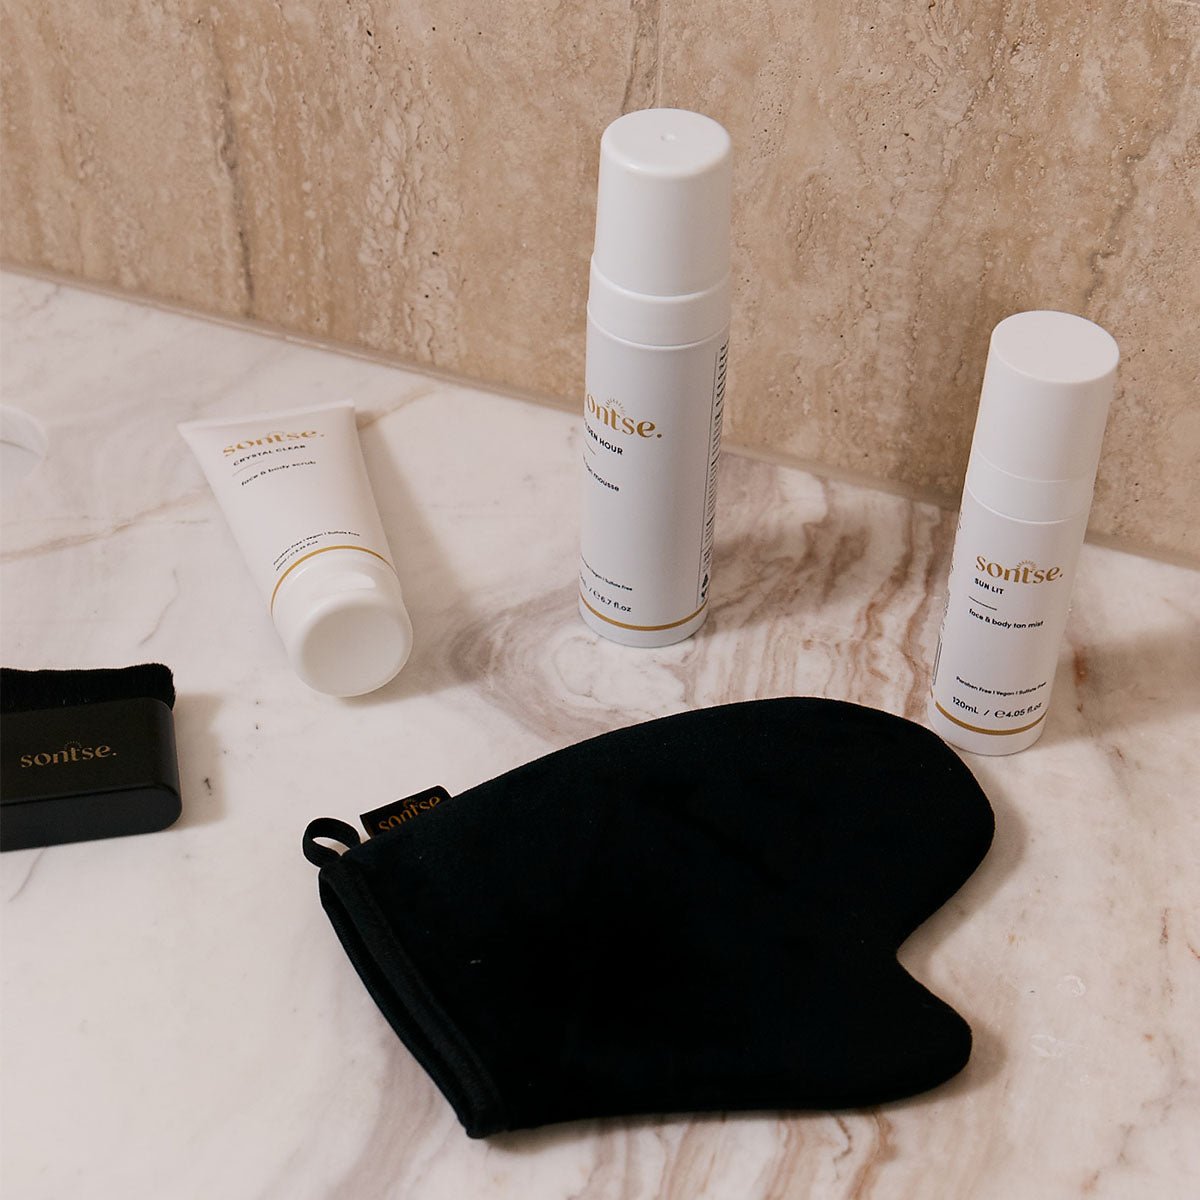
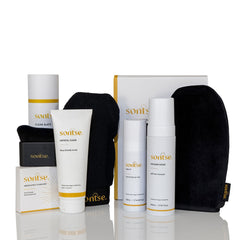
A top-up of Sontse sunless tanner at home. Keep that glow going with a touch-up from our Sontse at-home tanning products. Whether it’s a gradual tanning mousse or a quick spritz of self-tan mist, these are perfect for extending your salon tan or adding a little extra glow between appointments.
Oh and one more thing to add to the spray tan rules that will make all the difference… don’t forget to stay dry and comfy. For the first 24 hours, try to avoid anything that might cause you to sweat or get your skin wet—no gym sessions, saunas, or long baths. This ensures your tan develops evenly and lasts as long as possible.
There you have it: spray tan tips that’ll get you glowing with confidence before your next professional spray tan appointment. Was this helpful? If so, do your besties a favour and share these tips for spray tans with them. Lifting each other up and helping each other shine (flawlessly) inside and out is what we’re all about.
And, if you need a recommendation on tanning salons and beauty and skin boutiques that use our quality sunless tanner in-store, you can check out our stockists here.

