


Embracing a sun-kissed glow without the harmful effects of UV rays is a shared value amongst those like yourself in our sun-conscious community. This is why we have decided to put this all-encompassing self-tanning guide together – simplifying the essential information you need to know when it comes to self-tanning. Whether you’re stepping into the world of self-tanning for the first time or looking to refine your skills, this guide offers key information like the best way to apply self-tanner, how to get a good fake tan and the keys to maintaining a radiant, streak-free finish. Let’s dive into the art of sunless tanning at home and discover how to use self-tanner like a pro.
Choosing the Right Tanning Product
When it comes to how to self-tan, the product you choose makes all the difference. Having spent a long time researching our market years before we introduced the Sontse collection, we found that mousses and sprays are favourites among both beginners and seasoned tanners alike—they’re lightweight, quick-drying, and perfect for even application.
Lotions and oils, on the other hand, although luxurious, often require more blending and can feel heavier on the skin. Some even find a higher chance of breakouts or drying out of the skin.
Founder Jayde shares,
“I still remember my first attempt with a tanning lotion: I thought the richer formula would hydrate my skin while tanning. Instead, I ended up with streaks that highlighted every dry patch I didn’t know I had. That’s when I switched to mousse—it’s forgiving, easy to layer, and provides a natural finish. I knew when formulating my own product, the mousse would create a more elevated, elegant look that I wanted my customers to feel confident in.”
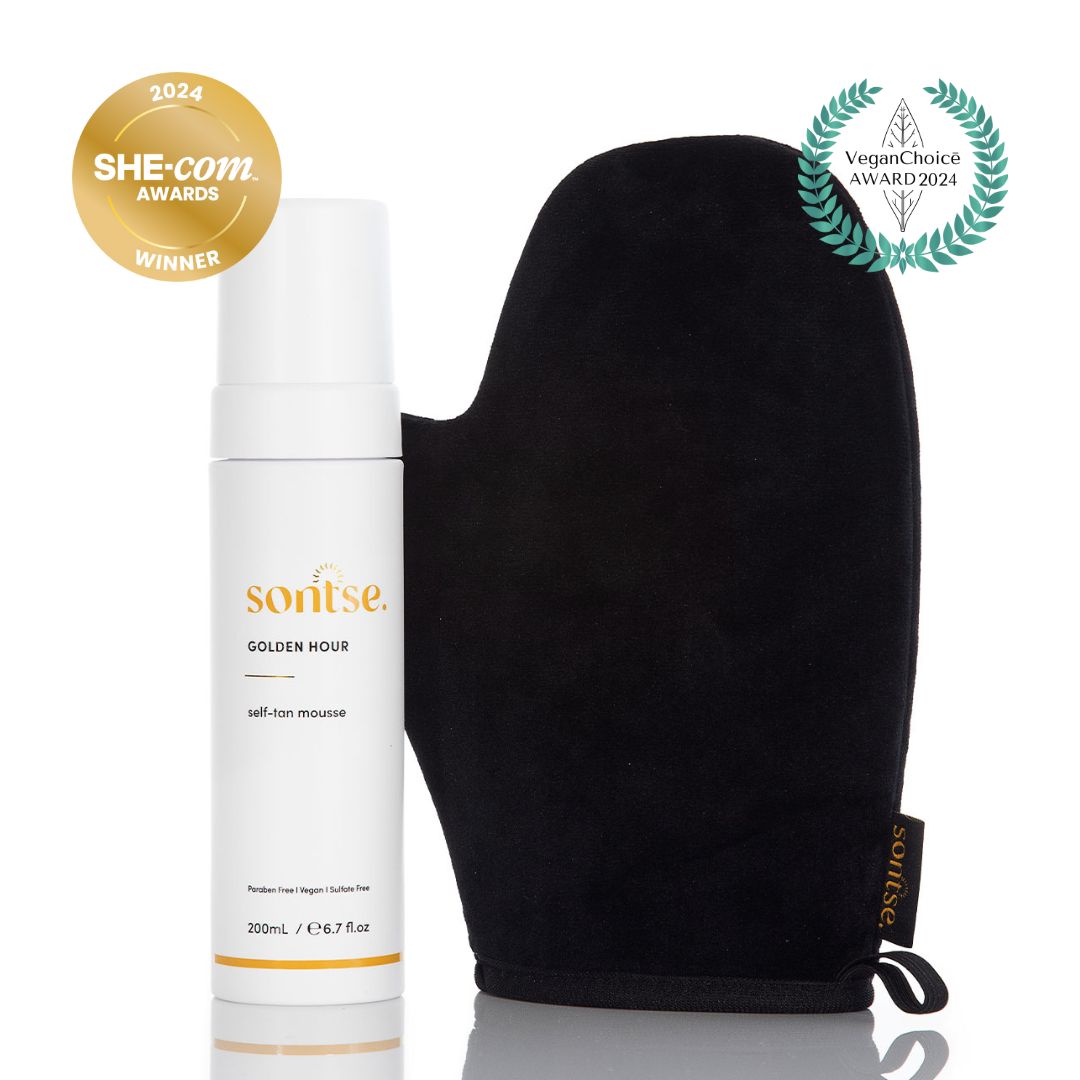
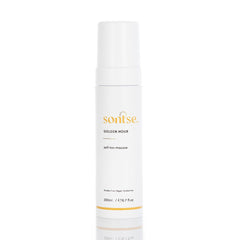
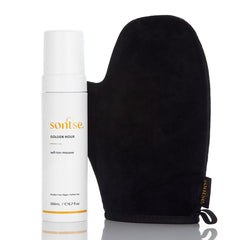
With this in mind, Sontse Golden Hour Self-Tan Mousse was consciously designed. Quickly adored by the sun-conscious population, word spread fast, leading to celebrity status and global recognition. Intrigued to know what the fuss is all about? Check out the self-tanner for yourself.
Alternatively, you can also get some more clarity on the best-suited self-tanner for your skin with our quick read on how to choose the best self-tanning product for your skin.
But it’s not just about the right product. Knowing how to apply self-tanner is just as important.
Prepping Your Skin: A Skincare Ritual You’ll Adore
When it comes to desiring an instant glow that doesn’t take hours of your time, prepping your skin might feel like an extra step, but trust us, it’s worth it. At Sontse, we believe in doing things with intentionality, and simplicity—creating routines that deliver elevated results without unnecessary complexity.
And, although tempting to rush through the process and skip the exfoliation in the midst of your already hectic morning routine, we have curated our collection with the promise of offering you a moment of solitude should you choose to embrace it.
Want the shortcut to success? A simple, mindful ritual that’s about doing things properly and with purpose? Our approach is minimalist by design but transformative by intention.
Because when you focus on the essentials—nurturing your skin with care—you’ll always get the results you deserve. Simple is better, and it doesn’t need to take long, but finding a time that suits you to take a moment to yourself will set you up for success.
In less than 15 minutes, you can prep your skin for a flawless tan by doing the following:
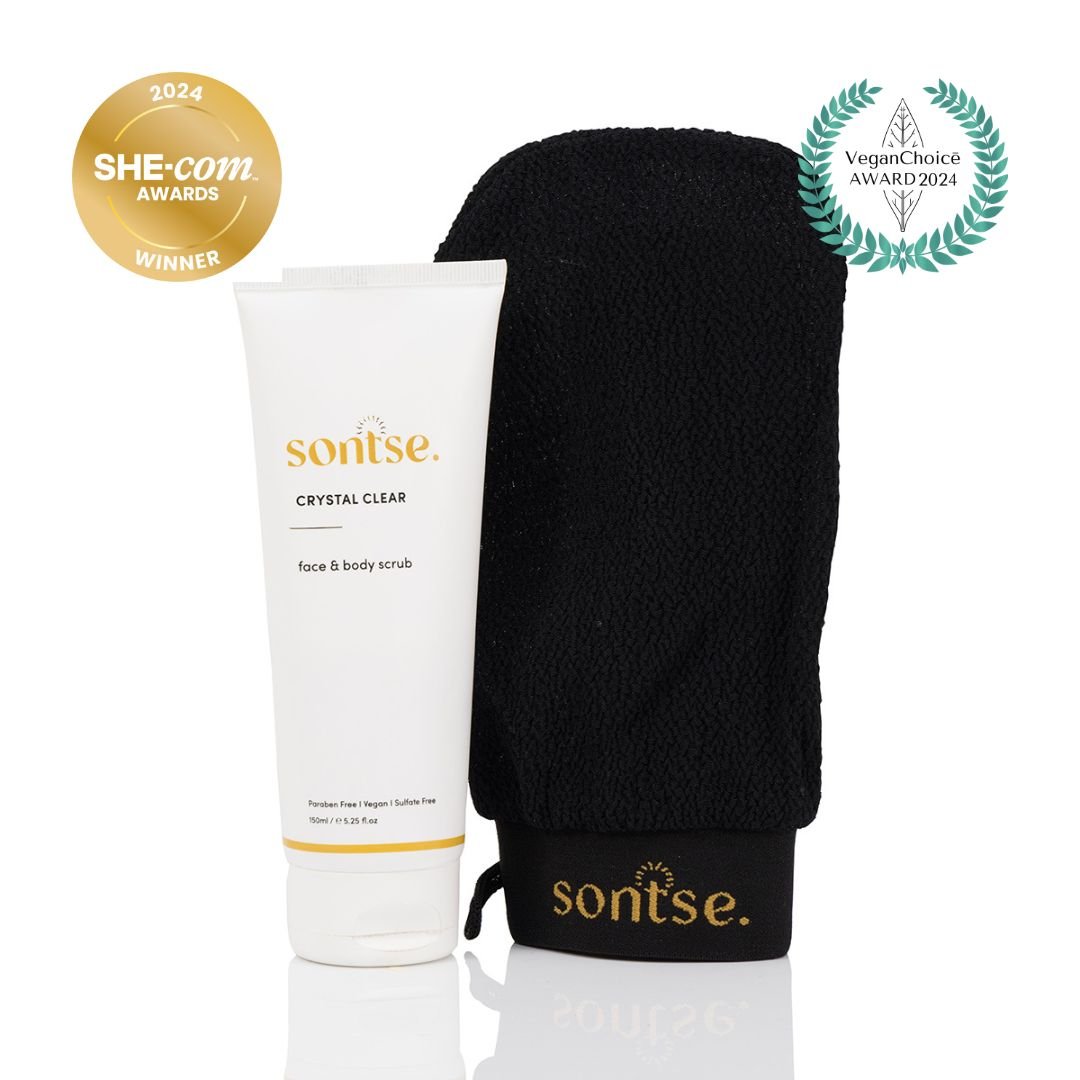
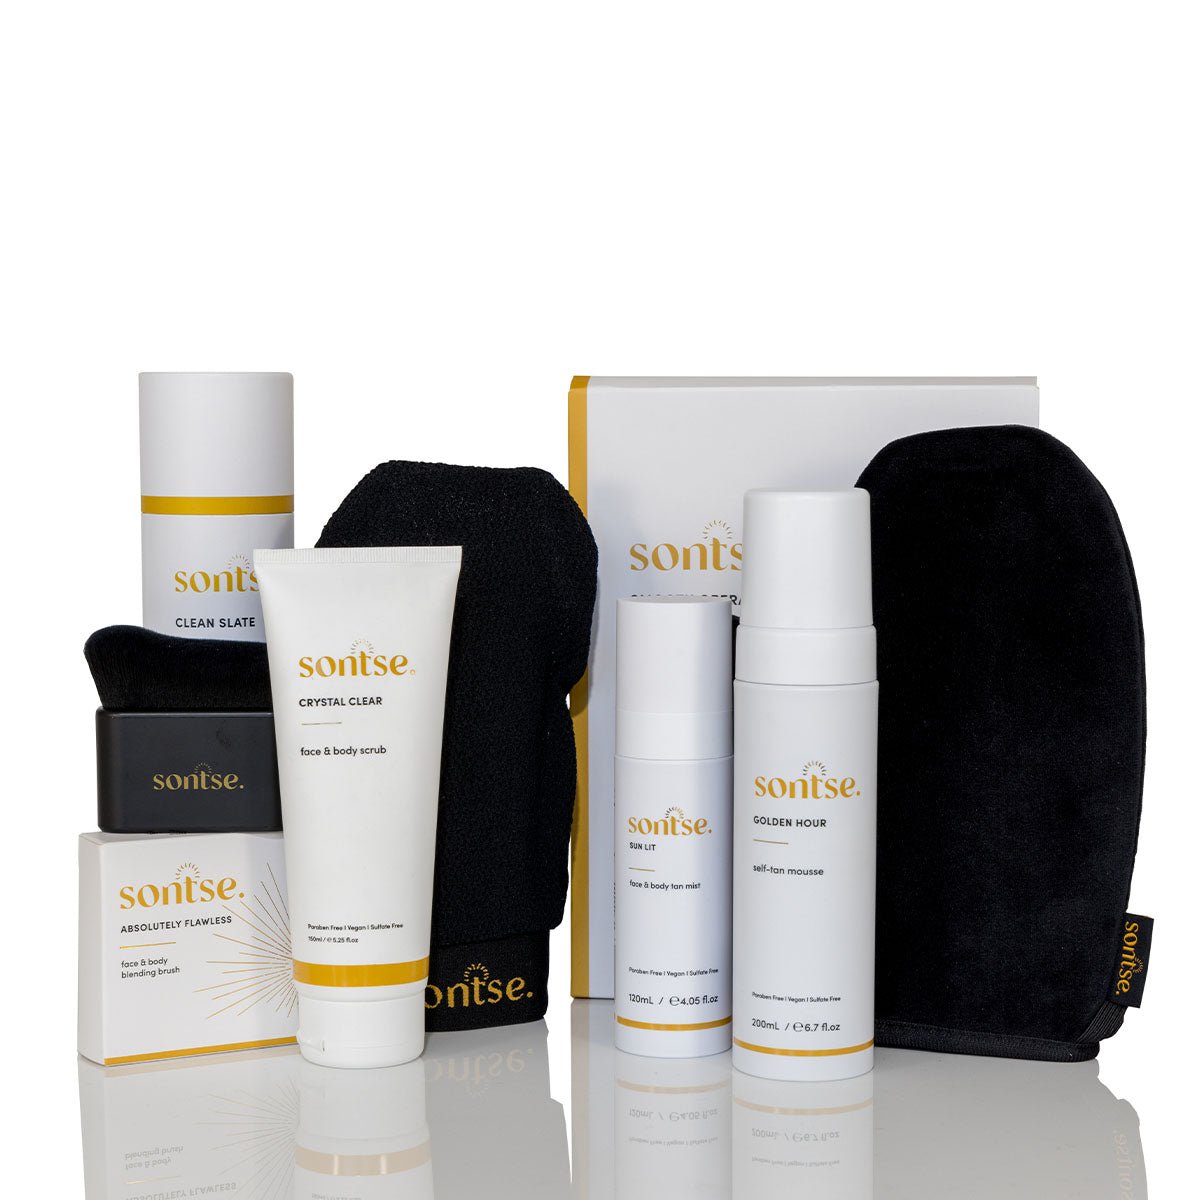
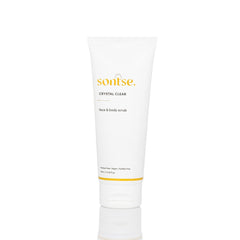
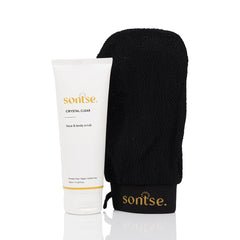
- Exfoliate: Do this 24 hours before tanning to remove dead skin cells. A gentle scrub or exfoliating mitt works wonders. Avoid oil-based scrubs, as leftover residue can prevent the self-tanner from adhering properly. Our Crystal Clear Face & Body Scrub is specifically designed to work with self-tanners.
- Shave: Shave about 12–24 hours before tanning to give your skin time to settle.
- Pat dry: After stepping out of the shower, pat dry your damp skin
- Apply self-tanner immediately: This sets the tone on well-hydrated skin and avoids the risks of applying tanner to dry, dehydrated skin. Check out our How to Self Tan guide for more tips.
Think of this routine as your weekly beauty ritual. It’s a few moments of self-care that set the stage for the best way to apply self-tanner and achieve that streak-free glow.
Pro Application: Tools, Techniques, and Timing
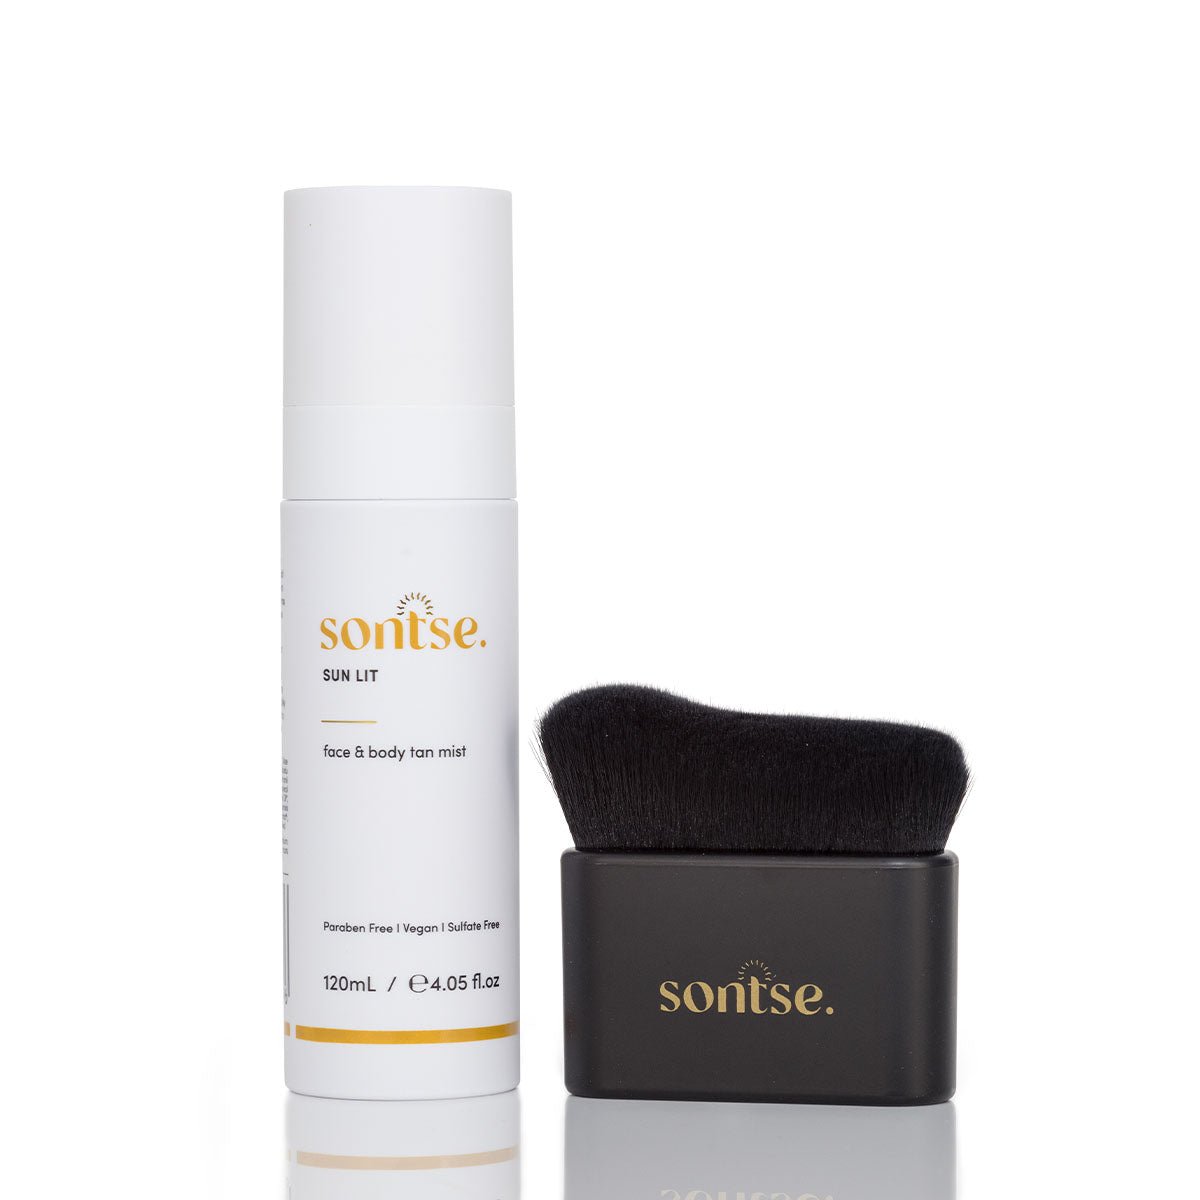
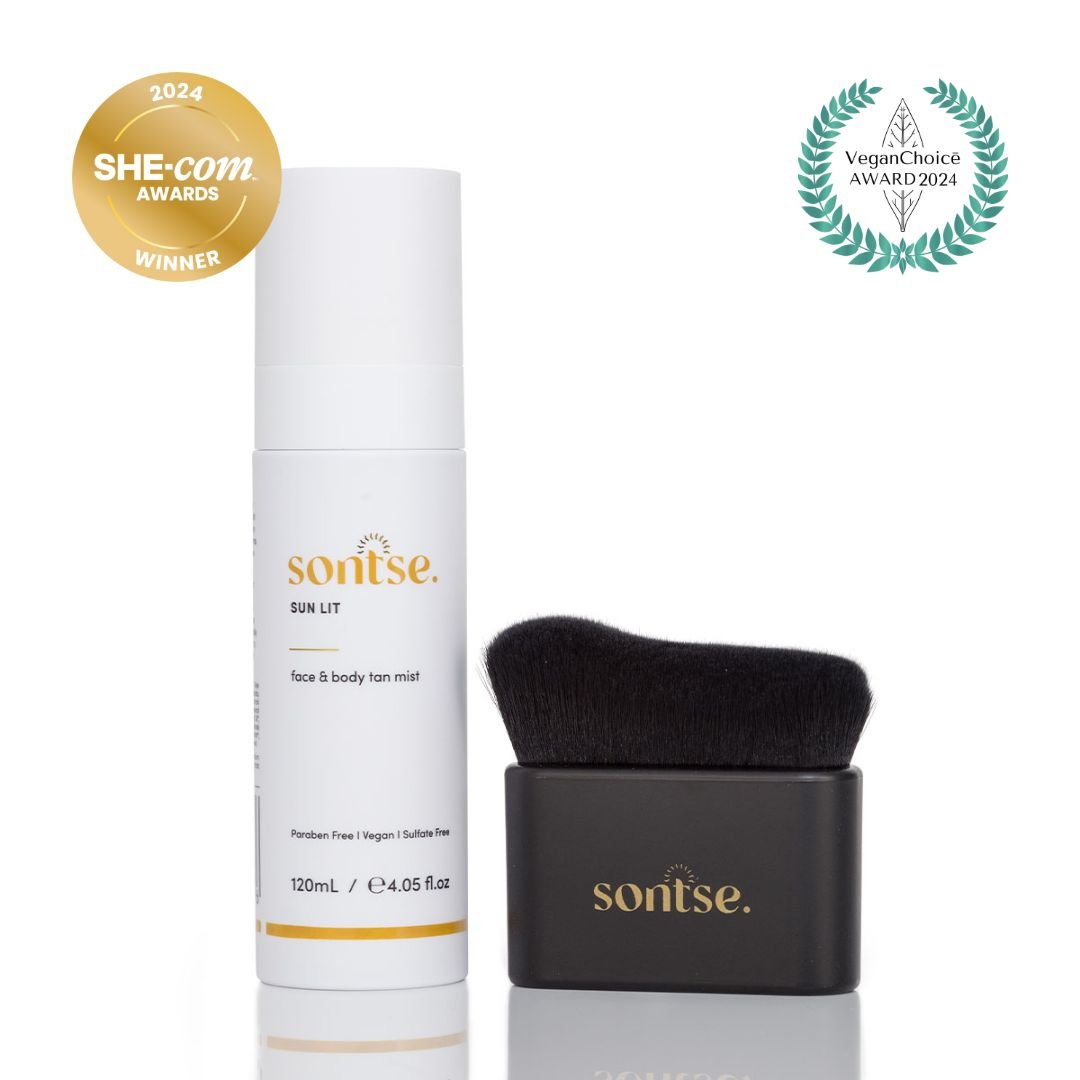
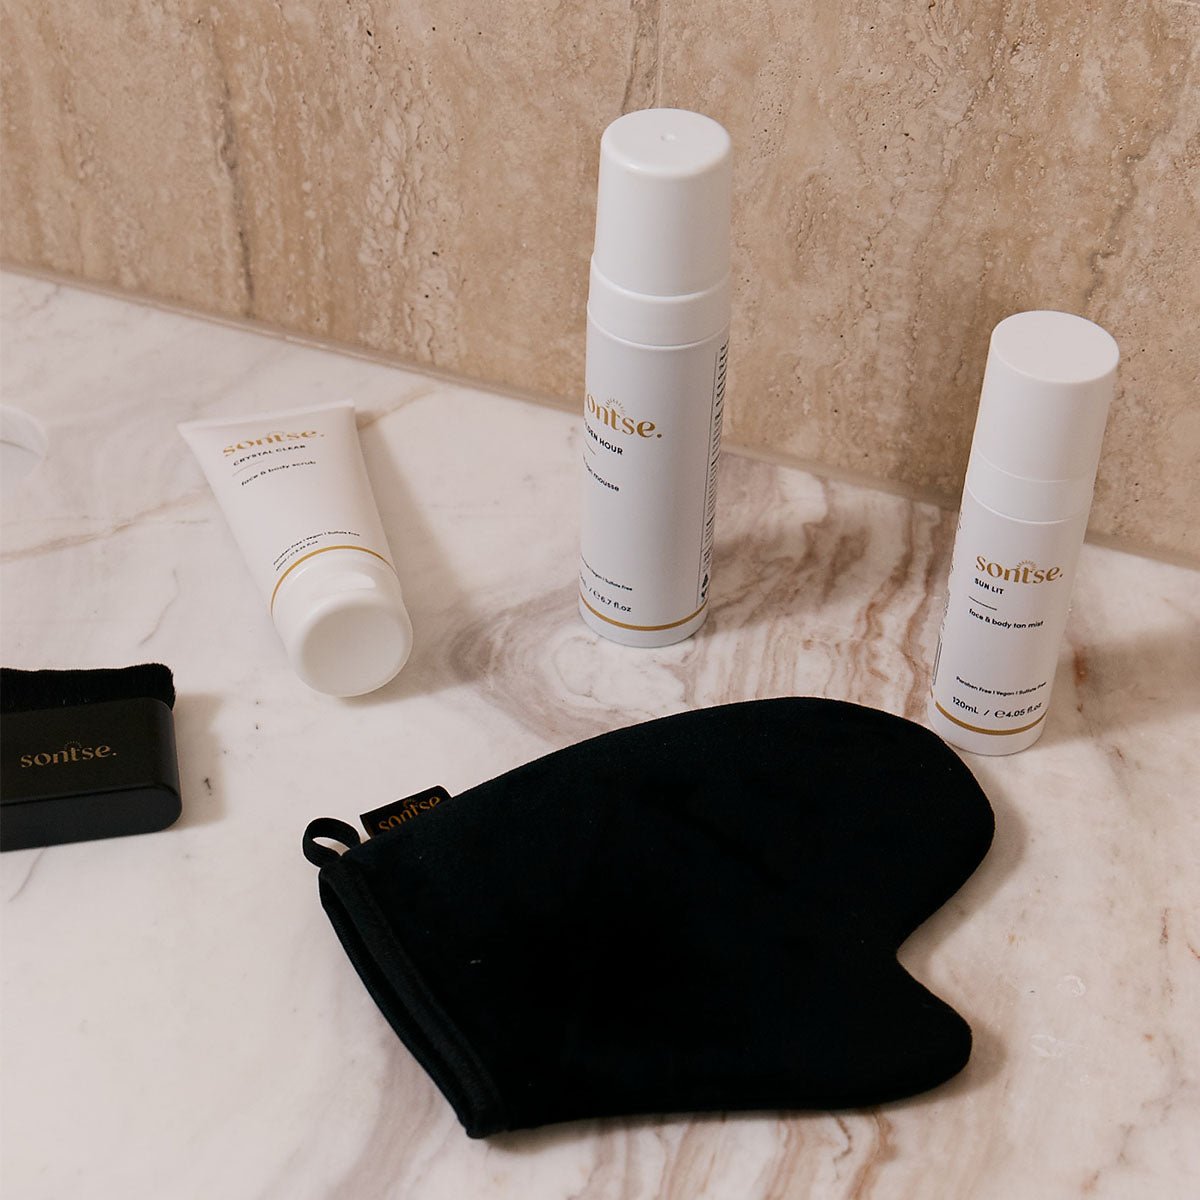
For the best way to apply self-tan, invest in the right tools. A tanning mitt like our Smooth Operator Tanning Mitt is non-negotiable—it ensures an even application and saves your hands from staining. For detailed areas like your face and collarbones, use a blending brush like our Absolutely Flawless Face & Body Blending Brush. It’s the secret behind perfectly sculpted tans that even pros swear by.
Take Carla, a renowned Hair and Makeup Artist from Carla Dyson Makeup, for example. Sharing her fake tan tips and creative use of our products, Carla took to our social media to demonstrate how to fake tan like a pro using our mist and blending brush combo. See the post on Instagram for yourself.
A few non-negotiables to consider for the best way to put on self-tanner:
- How to apply self-tanner: Start with small amounts, working in circular motions. Begin with larger areas like your legs and arms, then move to your torso and face.
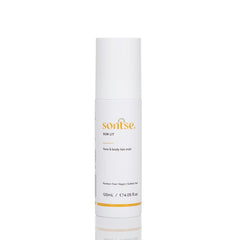
- How long to leave it on: Our products are designed to develop within 1-4 hours, depending on the desired glow. Our mist can remain on for longer before being rinsed for a gradual tone-up throughout the day.
- What clothes to wear: To avoid transferring the product, wear loose, dark clothing while your tan sets.
Still a little nervous about attempting to tan the trickier areas? Check out our blog on How To Self-Tan Your Face.
Immediate Aftercare: Locking in Your Glow
The best way to fake tan isn’t complete without a proper aftercare routine. Moisturising is key, but the products you use matter just as much as the steps you take.
Our top aftercare tips for the best way to self-tan and preserve that glow:
- Moisturise: Hydrated skin holds onto colour better. Use a non-oily, fragrance-free lotion.
- Avoid certain products: Skip exfoliating scrubs, retinol, and anything with alcohol, as these can strip your tan prematurely.
- Apply SPF: This isn’t just about protecting your tan—it’s about protecting your skin.
Maintaining Your Tan Days Ahead: Tips for Longevity
Of course, beyond immediate aftercare, extending your tan for as long as possible comes down to your maintenance routine. So how do you apply fake tan so it lasts? Take the following fake tan advice to ensure your glow lasts longer.
- Top up: Use our tanning mist or a light layer of your original tanner every 1–4 days.
- Pat dry: After showering, gently pat your skin instead of rubbing it.
- Moisturise daily: Don’t give your skin a chance to crack or dry out. Ensure you keep it smooth and supple.
- Hydrate: Drink plenty of water to keep your skin plump and glowing.
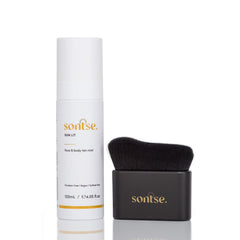
- Create a cosmetics corner of your bathroom dedicated to sunless tanning aftercare: gather your moisturiser, SPF sunscreen and your Sun Lit Face & Body Tan Mist for topping up your tan as you need. Add a beautiful scented candle of your choice for lighting and creating a stunningly sensual ritual that makes reapplying feel effortless.
By following these fake tanning tips, you can extend your tan and keep it looking fresh and natural.
Getting to the end of your tan and almost ready to start from a clean slate? Be sure to check our guide on the Top 4 Ways to Remove Fake Tan Subtly.
Final Thoughts
When it comes to how to sunless tan, at Sontse, we believe it’s more than just another beauty routine—it’s a way to embrace confidence and self-care. From mastering how to use the best fake tan for beginners or advanced tanners, to extending the results with properly implemented aftercare, every step is an opportunity to celebrate your skin. Whether you’re chasing the glow for a special event or as part of your everyday beauty ritual, these sunless tanning tips are your guide to radiant results.
At Sontse, we’re here to help you glow smartly and safely. With products trusted by beauty professionals and loved by women just like you, achieving the best way to self-tan is easier than ever. So why wait? Start your journey to glowing, sun-kissed-looking skin today.
Written By Liana Pantalone – Beauty & Skincare Copywriter at Climbing Vine Co.